Category Archives: Furniture

DRESSER UPDATE OR HOW TO RACHAEL LEIGH COOK YOUR FURNITURE

As I mentioned in my previous post my DIY libido has been a little low lately. I look around my apartment and I see a lot of things I want to tackle–bathroom renovation, patio facelift, custom planters, new hallway fixture, new fence, new kitchen cabinets, new doors, NEW EVERYTHING. When you’re a renter like me some of this stuff is realistic and maybe some of it’s not, but all of it is most definitely overwhelming when you can’t to take a step back and break it up into manageable bits. I Want It All Done And I Want It All Done Now is the common M.O. of someone who struggles with patience and rationality and their undeniable lovechild, prioritization. A sane, productive person would look at a mountainous pile of To Do’s and set small achievable goals. Then they’d begin chipping away at it, brick by brick, project by project, until the task is completed, always keeping in mind that the whole is only as great and the sum of its parts. But what do you, the restless, self-doubting, self-sabotaging person, end up doing? Buckle under the enormous pressure to finish everything by planting yourself in bed, hoping to drink red wine and watch Bob’s Burgers but really playing Candy Crush, staining your sheets red and hating yourself for not giving your full attention to Bob’s Burgers.

Of these two types of people, Type A and Type Human Landfill, I will forever be the latter. It’s my birthright. That kind of destructive behavior is never going away.

Here’s an example of the dialogue I have with myself every evening, upon walking in the door from work: 

Smart Evan: Hm, my place looks pretty damn good. Go me! [Grunting] 

Dumb Evan: What are you doing? 

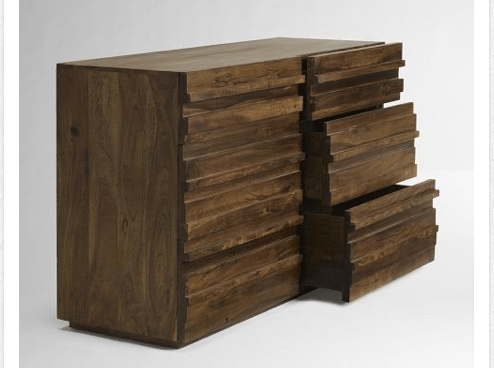
Resourceful Evan: Trying to get this dresser I found on the street through the door! Can you get the other side, Daddy-o? 

Unimaginative Evan: No. 

Sane Evan: [sweating] Whew! That was heavy! I can’t wait to start sanding this down. It’s going to look great over there in the corner.

Stupid Evan: Mother of God.

Rational Evan: What’s that?

Destructive Evan: [stepping into the hallway] I said, there’s a half-painted flower pot over there that should be a fully-painted flower pot.

Rational: Oh, you! I see that but I’m not in a rush, mister man! I’m letting it dry completely before applying a second coat, otherwise it may streak or chip. Duh!

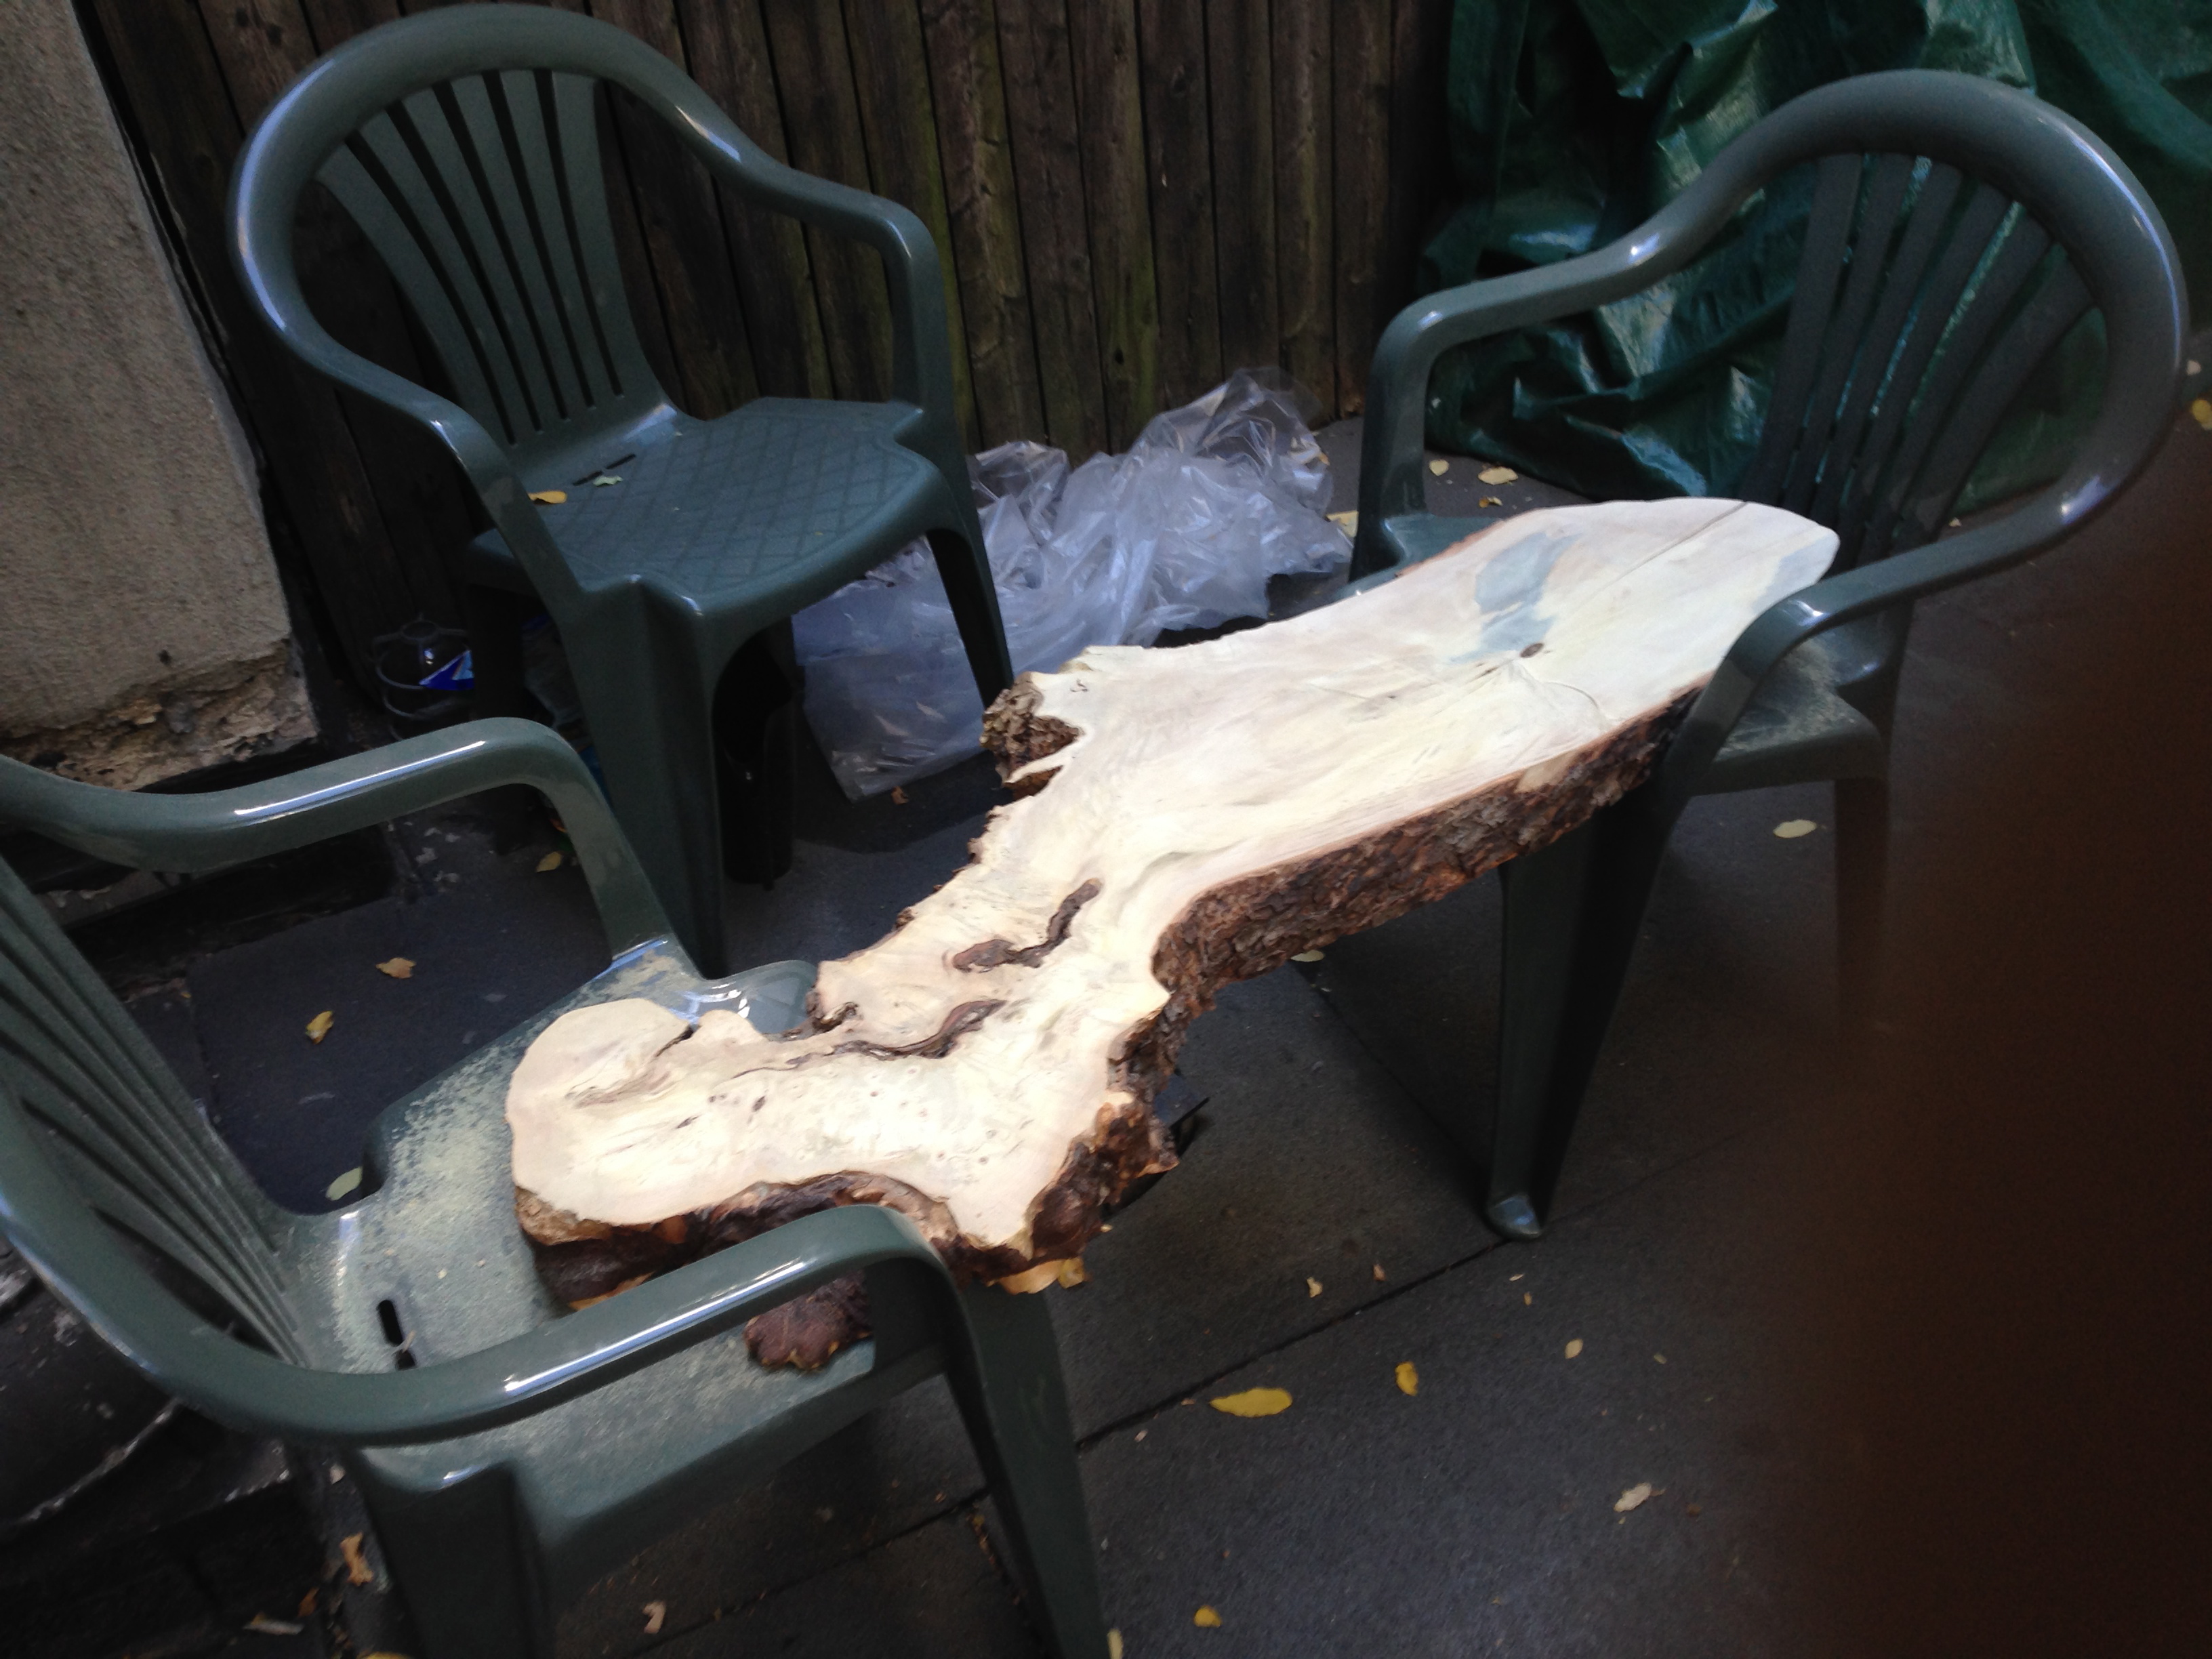
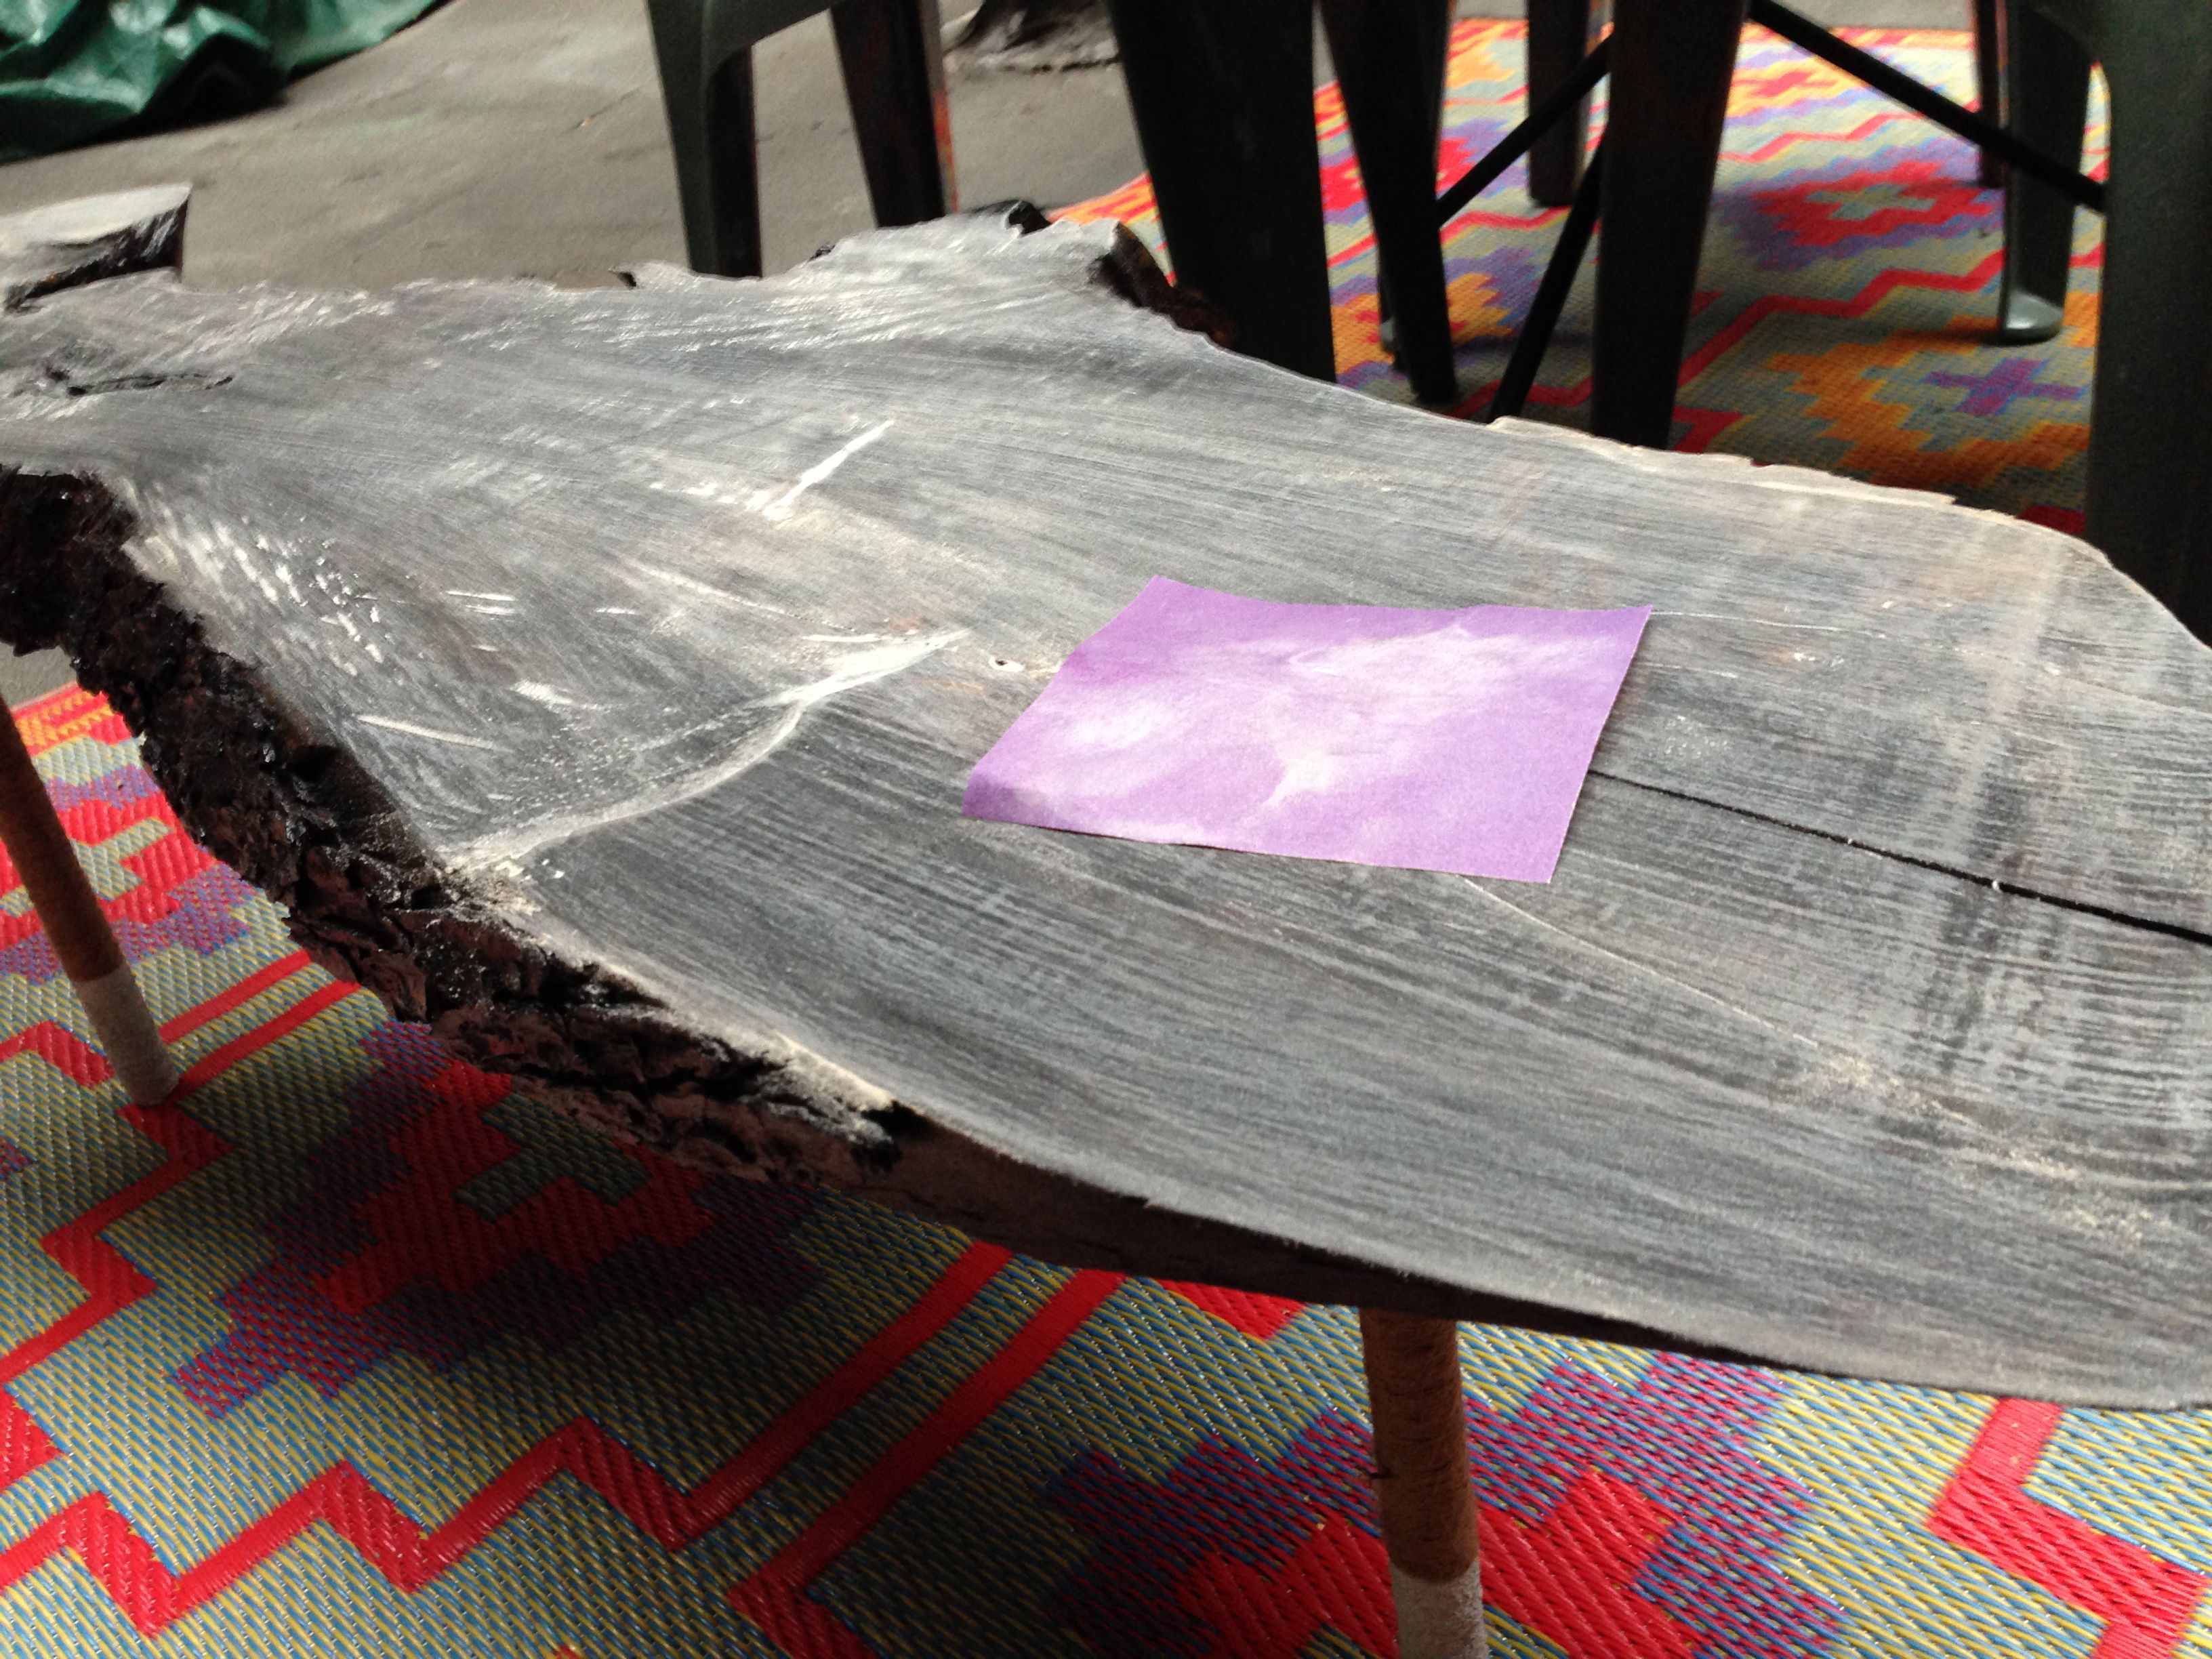
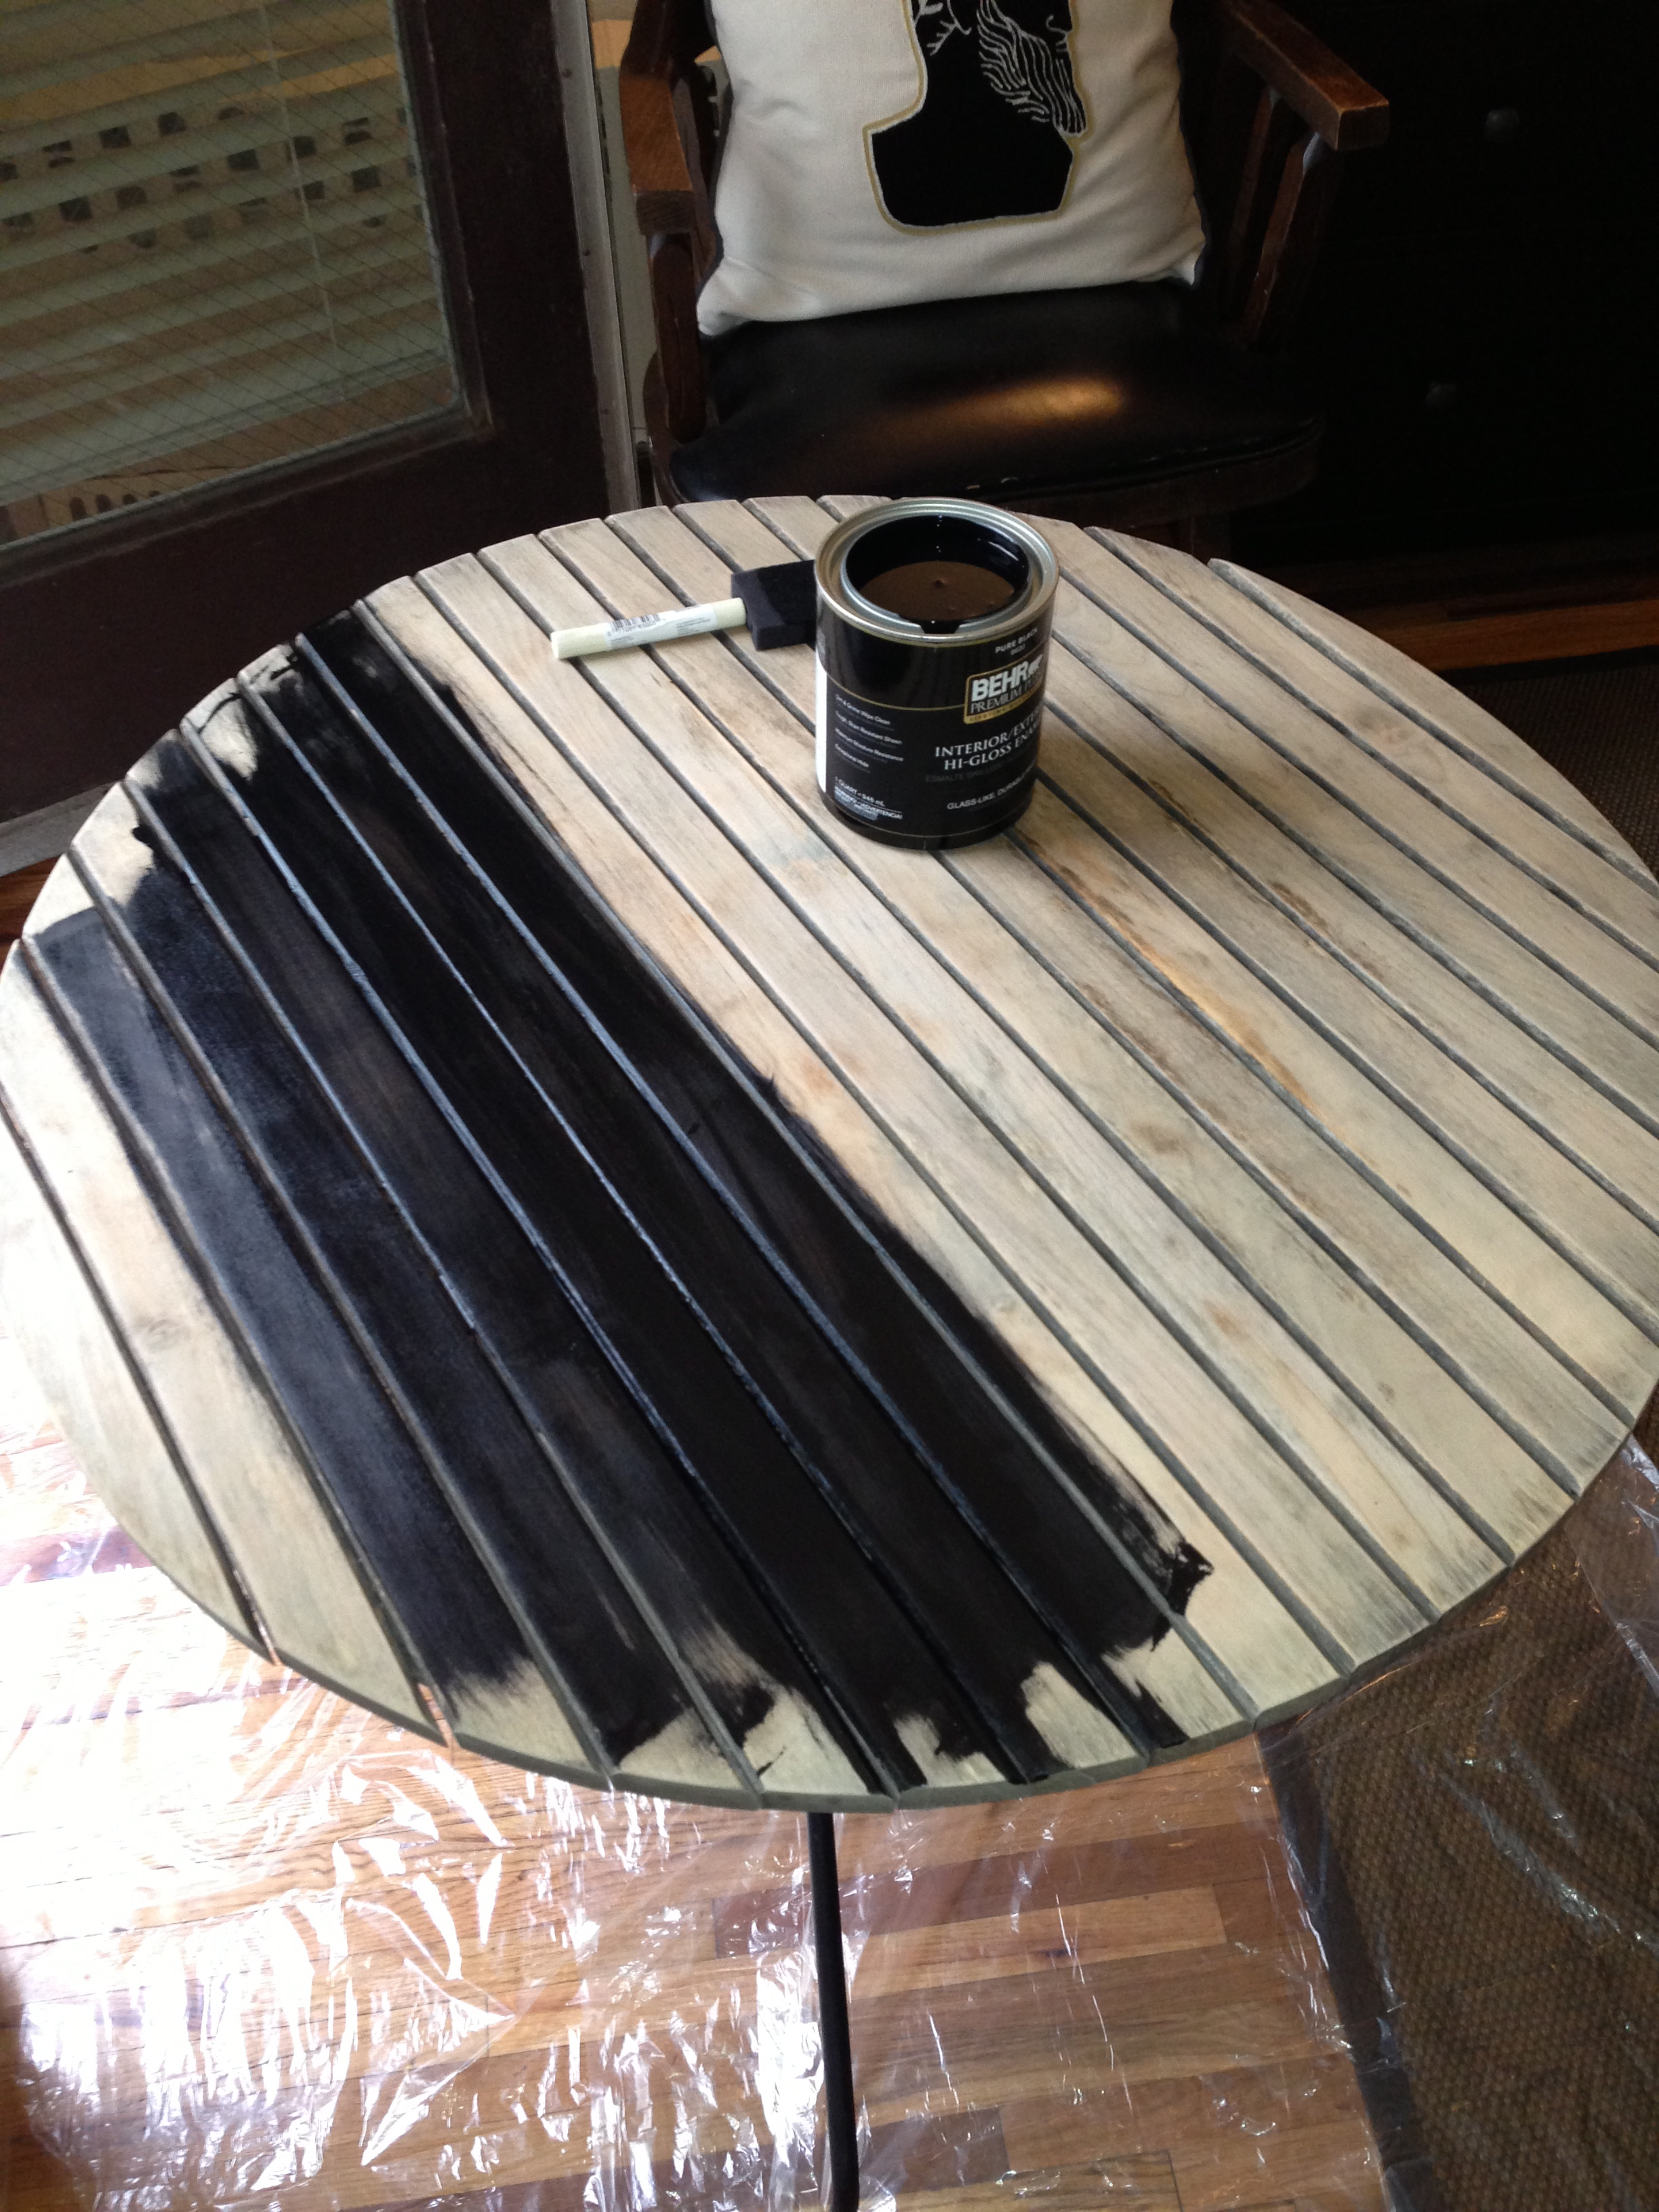
Destructive: I see. And that pile of salvaged wood out by the patio? That must be waiting for a second coat, too?

Rational: No, you silly-ba-nilly! The wood is there for when I start building the fence. But before I can do that I need to get these pots done. And then after the fence I’m going to do this dresser. You are too funny!

Destructive: Ooooh, ok ok ok. Got it got it gooot iiit. Because, like, I didn’t know if you were actually trying to accomplish something or just auditioning for the next season of Hoarders.

Rational: No way, Jose! What’s Hoarders?

Destructive: Yea! You know it’s that show where people can’t stop saving things and it piles up and up and up and eventually they bury themselves alive in their own, like, mausoleum of junk and broken dreams?

Rational: Um….huh?

Destructive: No no no, it’s not a big thing I’m just saying, like, if you need someone to film your submission tape I’m more than happy to do it. We just need a few more paint cans and secondhand wicker dining chairs and you’ll be golden.

Rational: I’m sensing some sarcasm.

Destructive. What? PFFF! Fat chance, Lance! No sarcasm here.

Rational: Ok…

Destructive: I mean, ok, there was a tinsy bit of sarcasm.

Rational: I knew it–

Destructive: –you don’t need any more paint cans or secondhand wicker dining chairs. You have enough already.

Rational: It’s not that bad.

Destructive: Hey, who am I to judge, right? Today I had guacamole and chips for breakfast. Lemme just ask you this: are you really going to get this all done?

Rational: Well, that’s the plan…

Destructive: Because I’m ALL FOR you getting it done, don’t get me wrong…

Rational: …but…

Destructive: …BUUUUUUUT it just seems like, you know, all I see is an apartment full of half finished projects and projects that haven’t even been started and projects that even if you wanted to start you wouldn’t have the room to start because the half finished ones are taking up all the available space.

Rational: I….I can see that, sure.

Destructive: And, you know, I’m just looking out for YOU.

Rational: I…appreciate that.

Destructive: Because, hey, lemme tell you right now buddy it’s not normal to have a shipping palette in your bathroom.

Rational: I AM PLANNING ON BREAKING IT DOWN AND MAKING IT INTO A WALL TREATMENT!!!$%#@

[Pause]

Destructive: Whoa.

Rational: I’m sorry. I’m so stressed. I want to die all of the deaths.

Destructive: Shhhhh. Shh-shh-shhhhh. There there. You don’t need to be stressed.

Rational: I don’t?

Destructive: No. Just sit down. Relax. Drop your bag and lay down on the bed. [Goes into the kitchen]

Rational: Ok.

Destructive: Red or white?

Rational: What?

Destructive: Do you want a glass of wine? To unwind?

Rational: Oh. Sure. Yes, that does sound nice. Red, please.

Destructive: Great. [Returns to the bed] Here you go. Poor baby. You’re so exhausted.

Rational: I really am.

Destructive: Would you like me to turn on the TV, see what’s on?

Rational: That’s perfect.

Destructive: Netflix?

Rational: Mmm, yes.

Destructive: Bob’s Burgers is streaming. Sound good?

Irrational: You’re the best.

And so it’s been going, every night for the past few months. Rational Evan eventually caves and willingly, cooly and numbly falls into the warm, cozy embrace of Destructive Evan’s clutches, or what is commonly referred to in my home as The Cabernet Haze.

It was after this last stretch of The Haze that I realized my creativity boner would need a little Viagra if I was ever going to get back on track and stockpiling old futon frames in the corner of my living room again. What I needed was the movie equivalent of a nerdy girl makeover–low effort, high impact–like when Molly Ringwald pulls back Ally Sheedy’s hair to reveal she has a jaw or when a girl discovers contacts and snags Freddie Prinze Jr. [SIDE NOTE: Try getting that Six Pence None The Richer song out of your head now. I dare you.]

I sat in my bed for a long while, looking around my apartment with a discerning eye, before it jumped out at me as if to say, “HELLO, MORON,” like a stripped sweater in a Where’s Waldo book:

Say what you will about IKEA but this Hemnes dresser has been a stalwart–A STALWART, I TELL YOU. To be unabashedly hyperbolic, it is, without a doubt, the William Wallace of my apartment because for three hundred bucks and half a dozen meatballs no other piece of furniture in this shack is as much of a warrior, OK? (Sorry, Design Within Reach. I’m still available for sponsorship. This post can and will be deleted without hesitation.) But, despite it’s redurlability–that’s durability and reliability (you’re welcome)–I think we can all agree its monochromaticity is a little bit like a wet fart, no? A big brown mess that just kinda runs all over the floor.

Cue Home Depot:

No, this is not the back of an issue of Highlights; the knobs are a different color! What a novel idea, right? I AM A DESIGN GURU.

But seriously–honestly–look at those brass beauties and what a difference they make. Then look in the mirror and tell yourself a well-deserved I Could’ve Done That because you can and you should and it’s ridiculous that for *$20 you can justify having a blog about home design.

Anyway, that’s the show, kids. I hope the heavy fireworks delivered. Knobs. Unscrewing old ones and screwing on new ones. Who would’ve guessed? It may not seem like a lot (and it’s not) but it was what I needed to put that spring back in my step.

*If you can claim you found the knobs were mislabeled the whole abysmally unskilful project can come in under ten bucks, but the money you save you will pay for with your pride. This comes from a trusted source. My pride is worth ten whole dollars.

NIGHTSTAND DIY

Last month you might remember I mentioned an exciting little nugget of DIY showed up on my doorstep. Well, that mystery package was actually a hunk of beautiful Northern California buckeye burl wood and the DIY in question is a new, sexy and rugged nightstand for myself.

The inspiration came from Morgan over at The Brick House. She did a fantastic color dipping project for Sherwin-Williams’ National Painting Week which I have been dying to do myself ever since I read about it. (By the way, go check out her blog! It’s brilliant and you’ll be much smarter for having given it a look-see. Promise.)

If you scroll down to my previous post about upcycling my Jon Hamm look-a-like lamp the last picture shows what I was working with in the nightstand department. When I moved into my studio I needed a something in a pinch and chose the Mid-Century Nightstand from West Elm. While I like West Elm furniture (my bed is WE and has been outstanding for going on five years now) it didn’t really fit the style of my apartment–I always knew I’d swap it out at some point–and once I found the perfect piece of lumber (from eBay! Who knew?) I finally had the opportunity to do something unique with the space next to my bed.

IMG_4413

The piece came totally raw, so I first started by finding the lowest grade sandpaper the corner hardware store carried (40) a buying a lot of it. I don’t generally recommend buying sanding blocks. If you’re like me and don’t have a lot of storage go with paper sheets instead. They’re just as effective, cost less and are easy to store if you have leftovers. I seem to always have a use for sandpaper, too (strange, I know), so having a little extra is always a good thing. Plus, for this project, you will need an assload.

Then I set about creating a smooth and even surface by sanding with the wood’s grain until my hands became bloody stumps. Even though I new which side would be my top I sanded both sides of the wood anyway. It might seem like more work than’s necessary but if you don’t you’ll have wood dandruff flaking off from the underside of your nightstand for years to come.IMG_4416Burl wood is a fairly soft wood but if you get a piece as raw as mine you’ll really need to work at it to get an even consistency throughout the piece. IMG_4417Also, burl wood is an abnormal growth found on trees, the product of an environmental stress suffered by the tree, most often caused by fungal or insect infection, so you may need to sand deeper than you expected to eradicate any bands of dead fungus or such. (Oh, nature!)

IMG_4418Oh wait, did I mention sanding until your hands are nothing more than oozy little potato buds? I did? Well, ok, I really meant it.

IMG_4422

Seriously sanding Susan

If you’re not giving yourself blisters THEN I DON’T WANT TO HEAR IT.

Once you’re done with the coarse sanding and you’ve bound and dressed your wounds, if you can still lift your arms take a finer grade sand paper (120 or higher) and give the whole thing a little love. Nothing nuts, just light and even to smooth the whole thing out. Again, with the grain people. The grain is your friend.

Now, depending on the piece of wood you find–raw, vintage, pre-stained–this step may be different for you. Since my piece was raw (and because I’ve made no illusion to being a patient person) I didn’t use a primer; just went straight to staining. If you don’t have a raw piece of wood, or if you do and are seeking a specific tone, priming never hurts and will always give you the upper hand. I, however, had some leftover stain from a previous project that wasn’t as dark as I wanted so I knew I’d be making several passes with the stuff to enrich the color anyway, regardless of the wood absorbing the stain or not. Leave it to me to not do thing the way you’re supposed but that’s half the fun of DIY-ing. You have to find your groove!

Speaking of staining, I get asked a lot what kind of brush do you use for what and why. Well, friends, this may be wildly inappropriate for me to admit but I don’t really know. Nor do I care. I use foam brushes for just about everything because I feel they’re more forgiving than bristle brushes when you make a mistake. Plus you’re not forced to hunt for runaway bristles stuck in the coat of the thing you’re painting/staining/priming/sealing. For me, it just cuts out the worry of screwing up. So…foam brushes. Forever and always.

IMG_4419

Dark walnut beauty

Stained and drying, I went on to the next step: the legs. For this you’ll need an equal number of galvanized pipes and floor flanges. No, a flange is not one of Pheobe Buffay’s fake names, but what you’ll need to affix the leg to the bottom of the nightstand. The size and length are totally up to you. For this project I used three 1/2″ x 12″ pipes and their corresponding flanges. Home Depot will always have this stuff in stock–look in the plumbing aisle.

Grab a ball of twine while you’re out, too. Jute is best or any other kind of untreated rope. I found a roll of jute at the corner hardware store for $3. Just don’t get anything waxy or plastic. You won’t be able to paint that and also…gross.

IMG_4426Warning: this next part may obliterate your thumbs, so if you actually gave yourself blisters from sanding earlier, well, (1st) Bravo to you, welcome to the club! and (2nd) you may want to wait until you’re healed before attempting the following. However if you’re feeling wildly adventurous throw on that White Snake denim jacket and continue being a total badass!

IMG_4427Screw the flange to one end of the galvanized pipe. Place a small bead of glue (I used hot glue because I’m Martha Stewart and have a glue gun at the ready at all times, motherfucker, but you can use Gorilla Glue or something else if you’re basic like that) at the top, where the flange meets the pipe.

Using your bruised and bloody thumb as a guide tightly wind the jute around the pipe with your other hand, pushing upward with your thumbs every few rotations to make sure everything’s right and tight. I used a relatively thin gauge of twine so it took me about 30 minute/pipe, but if you’re using thicker rope it may go quicker.

Drop a little beadlet of glue every inch or so along the pipe to make sure the jute doesn’t jostle. When you reach the end of the pipe cut the twine, giving yourself roughly 1/2″ on the end to tuck inside the pipe and glue. Maybe do this step with a knife, or chopstick if you have one handy, so as not to burn yourself/adhere your first layer of skin to the pipe.

Once that’s done it’s time for my favorite activity: spray painting wildly and without abandon! Like Morgan did in her post, you can dip the legs in a can of paint, which is probably easier and less messy, but I didn’t have any so I just went full tilt with a can.

The length of the color block is totally up to you. I did 3″ from the bottom of the leg, taped if off and covered the rest of the leg in a grocery bag:

IMG_4428Jute is spongy so don’t be surprised if you have to dip or spray a few times to get your desired color density. Those should dry pretty quickly but you may be held up at this point for a day or two as you wait for the stain to dry before applying your top coat.

I’m not a huge fan of polyurethane in general (it just seems so obviously environmentally egregious) but I understand why we use them, so use it I did. It’s important to seal up your work after putting this much time and energy into it. When you do apply the poly top coat definitely use a foam brush. High gloss polys are very unforgiving to mistakes so a fat foam brush will be your best friend for this next step. I also recommend three to four coats. Seriously. You know I’m not a fan of extra steps but I think you’ll really be glad you took the time here.

Allow each coat of poly to dry fully before taking a microgrit sandpaper (maybe 240) and lightly sand to even out any inconsistencies. And, as always, wear your mask and goggles, ya dopes! How many times do I have to say it!?

IMG_4441Wipe off the poly dust you made from sanding with a damp rag, let the surface dry then repeat the whole thing again until the top of the nightstand has your desired sheen.

Oh right. I already attached my legs by now, so you should do that, too. Screw those suckers on.

IMG_4442Last, pick up some Johnson Paste Wax. It’s like $6 and you can find it anywhere, maybe even at your local drugstore. This will give your studly table a creamy, smooth and delicious finish.

Take your time and work it into the wood. You’ll want to do this every 3-4 months or so just to keep the top supple and sexy. Grrrr!

IMG_4446And that’s it!

I will finish this post by saying this project was CHEAP (because it was) but I won’t finish this post by lying saying it was quick. The steps are easy and require very little skill, but you really need to set aside an entire weekend and then some to complete the process.

I will say, however, that your time will be rewarded ten fold. This thing is a real beauty.

Also, see that nudey portrait in the stunning aluminum frame? I found it the day before, leaning against a tree on my block, while taking Finn on his morning walking. Pretty great, right?

*Cue the Countess*

PATIO UPDATE

My patio and I have a weird relationship.

Private outdoor space in Manhattan is next to non-existent, especially if you’re like me and work hard to stay financially afloat every month. I feel extraordinarily lucky to have it. So lucky, in fact, that I have fallen in love with it. Ass over teakettle in love. But my love has come at a price. Since patios like this are a rare find it’s unlikely, when it comes time to move, I’ll find another one like it, which makes wanting to furnish and make it my own a real challenge. Why pour a bunch of money into lawn chairs and hammocks and canopies and A SLIP-N-SLIDE when in a few year’s time I’ll move and have no use for any of it? It’s a burden I can’t shoulder right now and for that I hate the patio I love. I resent it for being there and myself even more for falling for something I know I can’t have. I am my patio’s jealous mistress.

IMG_3733

Finn shares my wistful feelings about the patio.

Hm. Well, I did the best I could with what I had. I scraped together some chairs from the local hardware store, bought a durable outdoor rug on clearance from One King’s Lane, potted a few succulents and found a small bistro table on the street during garbage day (classy). It was fine but it still didn’t feel like I had imprinted on the space in any meaningful way, so I decided to get to work.

The top of the bistro table had a dark walnut finish. The (I would assume) polyurethane finish had cracked and flaked from years of neglect and the legs were dirty and sad.

First I started by sanding the top down, obliterating the polyurethane coat and wiping out the stain. It’s important to note, whenever you’re sanding a piece of furniture and you don’t know where it came from (or even if you do) WEAR A DUST MASK AND PROTECTIVE EYEWEAR. You don’t want to breathe in any microscopic fibers because you will get chlamydia and die. I started with something coarse, like 40, and once all the coats were sanded and I was left with bare wood I went down to 220, just to smooth everything out. Sand with the grain and remember, Kemosabe, it is a slow, tedious process, that sanding is. If your arms feel like they’re going to pop off at the joint, rot and wither away, you’re doing it right.

I wish I had taken pictures of the whole process, but I’m new to this whole blogging thing and didn’t think about it in advance. I promise I’ll get better as this thing goes on.

Next was a fresh coat of black paint. I went with Behr’s high gloss outdoor paint. It was a primer/sealer all-in-one and since I’m lazy that seemed like the best bet. You can start with a interior matte black but you’ll need to seal it with a top coat, and for what I needed to do it didn’t seem worth it.

IMG_3774

De-lush-us!

The day I was ready to paint it started to rain so I moved the whole operation inside, which just goes to show anyone can do this, even if you don’t have outdoor space. Just make sure your apartment is well ventilated otherwise you’ll start to see dancing elk on your ceiling and you’ll wake up with a wicked hangover.

I let the table dry for a whole day before applying a second coat. After the second coat I let it dry for another day. I wanted to make sure the thing was good and dry and sealed and ready before I threw it out there to brave the elements. Here’s the final result:

photoIt’s not a huge change but for 15 bucks and little elbow grease I couldn’t have asked for more. The whole endeavor was only a few hours of work and it’s made for a classier, more elegant patio space. And it was just enough to assuage the fear I’d be wasting my resources should I move and have to give it all up sooner than expected.

DROP YOUR DRAWERS

Dressers are really unwieldy things, right? They’re the Dawn Weiner of furniture: awkward and clunky. And they usually cost an arm and a leg. And a but. That but being But when done right they can really ground a room and even free up a lot of space.

I’ve never had a dresser in New York so this is new territory for me. I’m not thrilled about the idea of owning one. I tend not to see the potential for storage so much as how obnoxious it will be to hoof it up to my apartment and the very real possibility of pulling a Meryl down the stairs à la Death Becomes Her.

bluetape

I have to get something for this wall. At 13 1/2 feet it’s a big canvas to fill. It needs to be long enough to handle the space and comfortably house a flat screen, but too big and it will look oppressive and cramped.

At first I found this extremely handsome sideboard at Restoration Hardware:

restorationhardware

What a stud, huh? It’s a massive 6 foot long, 200 lbs thing of beauty. It has 3 banks of drawers—12 total—the wood has character and it would give enough room on each side of the TV to throw a lamp or three if I need it. My only concern was the hardware. Used sparingly bin pulls are evocative but as repetitive as this can be a tad kitschy. I would’ve liked to have replaced them with more understated ceramic knobs but RH couldn’t tell me how the pulls were fastened to the drawers or whether they could be switched at all. At $1295 that just didn’t fly with me, so I moved on.

Next I looked at West Elm. Again, a little pricey at $899 but it has character and I have yet to replace anything I’ve bought from them so far:

westelm

It’s rougher, which I dig, but it kind of just sits there, like a tube sock full of nickels. THUD. Also the drawers are not set on casters. For 900 spanks you should be getting a little more razzle-dazzle than just wood tracks, in my opinion. Know your worth and what’s important to you. Set standards and go from there.

Which brings me to Ikea. I hate to fall back on them because it feels sort of lazy of me, but in the end I’ve been defeated by the dresser Gods and Ikea offers affordable, workable solutions and I’m not Nate Berkus so don’t judge me:

hemnes

They got it right with their Hemnes series. It’s substantial yet light and creates a presence without pulling focus, like any good supporting character. And at $269? That’ll do, pig. That’ll do.

THE ALCOVE

I’ve been batting around a few ideas on what to do with this sleeping alcove. Its shallow, oblong shape makes it a bit of a head scratcher. A space this size in a larger apartment could have endless possibilities but, in a studio as intimate as this, my options are cut by sixteenths. Whatever lives here will have to be multifunctional and make sense within the conversation of the rest of the house. Design speaks, right?

A wide, depthless space like this would be perfect for a desk, but like I said previously I don’t think it would get a whole lot of use. Also, throwing a desk back there feels like plugging a leaky boat with cork; functional but temporary. It would be nice if I could get a little more dimensionality in there somehow.

alcove0

I’d like to clearly define the purpose of the space by putting something unique in it. Earlier I thought about using a foyer table smack in the center—an impractical, tongue-in-cheek response to living in a studio—but since the rest of the house will be maximizing every square inch it wouldn’t fit within the concept. The fact that there’s no guest seating really bothers me. I have a low bench I’ll be using below the kitchen window and a stool just opposite that (more to come) but those aren’t comfortable hitching posts. The only other place to sit is my bed, and I don’t like the idea of using a place of relaxation and rest for utility. So I racked my brain and came up with:

eames

A classic

The Eames Lounge and Ottoman.

Surprisingly it will fit perfectly in the space and, paired with a nightstand I’ll be refurbishing and a chrome drafting light, will create a reading nook that also doubles as guest seating. Using a lounge here, along with more masculine metal fixtures, should help distance the space from the Mister Rogers vibe I was hoping to avoid by using a traditional armchair.

Now, there is a little controversy here. Because I’m designing on a budget there’s no way I could afford an original, which starts at $4,500, so I would need a replica. Coincidentally Dwell has a great article this month about the impact of designer knock-offs. Basically they say replicas are a huge blow to the balance of the design ecosystem and they’re right. I work in film production and we have torrent sites stealing our work and distributing it in lower resolutions. It feels like it shouldn’t be allowed to happen, but intellectual property law in the United States prohibits the trademark of functional items—where most modern design squarely falls. Certain elements can be protected but the government can’t safeguard a designer’s aesthetic.

The meat of the argument comes down to quality over quantity. Do you want to pay for a piece of shit that will last you 2 years or invest in the real thing and have it last for 20? It’s hard to say, if I’m being completely honest. I mean, I understand the intrinsic value in choosing to buy a dinning table from Pottery Barn and not from Target; a few hundred dollars more and you’ve got a piece of furniture that will last a few years longer than the other, saving you money. An Eames, however, has a gap thousands and thousands of dollars wide, and while the Pottery Barn/Target argument still stands I’ve had the good fortune within the past week to meet with two manufactures of replicas of surprisingly higher quality than the usual suspects, like Lexington Modern or Serenity Living (FYI buyer beware!), and for a fraction of a fraction of a fraction of the price of an original. I know you get what you pay for and I accept that. I may be chucking an Eames in 5 years, but it’s 5 years with an Eames I wouldn’t have had otherwise.

Which leaves only the moral/ethical dilemma of it all. The Socialist in me says “No way! Don’t buy!”, the Libertarian says “Who cares? Do what you want.” The Socialist, “A dollar in their pocket is a dollar out of ours,” the Libertarian, “Herman Miller has been producing the Lounge since the mid 50s. They’re not hurting!” Socialist, “You’re an asshole!” Libertarian “Eat me.” To be continued…

Interestingly they include a quote from a guy named Jason Miller. It’s not clear if he’s a designer or a manufacturer, which might be the problem:

‘“What are you going to do as a designer, sit back and complain they’re acting immorally?” he asks. “That’s not going to pay the bills or make you feel better. You need to get to a place where they can’t knock you off—reach a level of craftsmanship or take a design risk that a knockoff company wouldn’t take. If you can’t create that individuality or specialness, it might be time to go back to the drawing board.”’

I’m not sure I agree with him, but it’s food for thought.