I’m always on the hunt for a new light fixture. I have a preternatural addiction to all things ceramic and glowing. A friend once told me, if there is such a thing as reincarnation, he thinks I will come back as a lamp, and while I find that charming and idiosyncratic it’s certainly not ideal being pegged as the Thomas Edison of cat ladies by your pals. Luckily for my sick perversity, the other side of the double-edged sword that is having an apartment with very little direct sunlight is always having an excuse to enable my bad behavior. This is unlucky for my sense of propriety, however, as I sit in bed and count six–count ’em SIX–lamps in my less-than-300-square-foot apartment.
A few months ago I found a fantastic mid-century stud sun bathing on the sands of eBay and I knew I had to have him:

WOOF
Is that not the Don Draper of bedside reading lights or what? You could practically smell the Lucky Strikes coming off the computer screen, so I snatched it up and waited not-so-patiently for it to arrive.
A few days later it was delivered and I scurried up to my apartment to rip open the box like a mongoose with a ball of tin foil: all teeth and very little dignity. Once opened I made a curious sound, something like a ‘hrmph’ but closer to a sigh. My gorgeous, curvy electric boyfriend wasn’t as gorgeous as I imagined. Online he was understated and evocative but what laid before me was just dull and sorta lifeless and not at all fresh. Something about the color, the wheat into umber, felt like a huge THUD when I put him on my nightstand.
The day before my mail-order husband came I popped my head into a Pottery Barn and found a super simple yet super classy coarse weave linen drum shade, which just happened to be on sale and which I thought would give the lamp some nice contrast of texture, however it really just made the whole thing monochromatic and flat, so now I was really stuck.
[SIDE NOTE: Can we talk about what a racket the lampshade industry is? First, drum shades are shockingly hard to come by. Even in New York City everything is either tapered or squared or tasseled or embroidered or ruffled or silk taffeta-ed. Since when did Christy Masters and the rest of the A Group start dictating design trends? Then there’s prices! Shades upwards of 300 spanks with most beginning around 75! HUH? And if you don’t want to take out a loan for a little diffused light the only other option is a $15 shade that looks like it was made with Xerox paper and a stick of paste. Where’s the variety, terrible lampshade industry? The whole mess is a hot sack of dead weasels if you ask me. I’ll have to figure out a DIY project for us, the levelheaded and under-served, and post it later. #endkanyerant]
So rather than trash the lamp and accept defeat I decided the give it a facelift. The main problem for me was the color and I figured if I could freshen it up a bit the whole thing could be salvaged.
I started with selecting a primer. When choosing, it’s always easier if you know the top coat of the thing you’ll be painting. My local hardware store had a very small selection of spray can primers so I went with Rust-Oleum Painter’s Touch Ultra Cover. The canister said it bonds to plastic and since the lamp had some type of acrylic sealant as its top coat (I guessed) I figured this was my best bet.
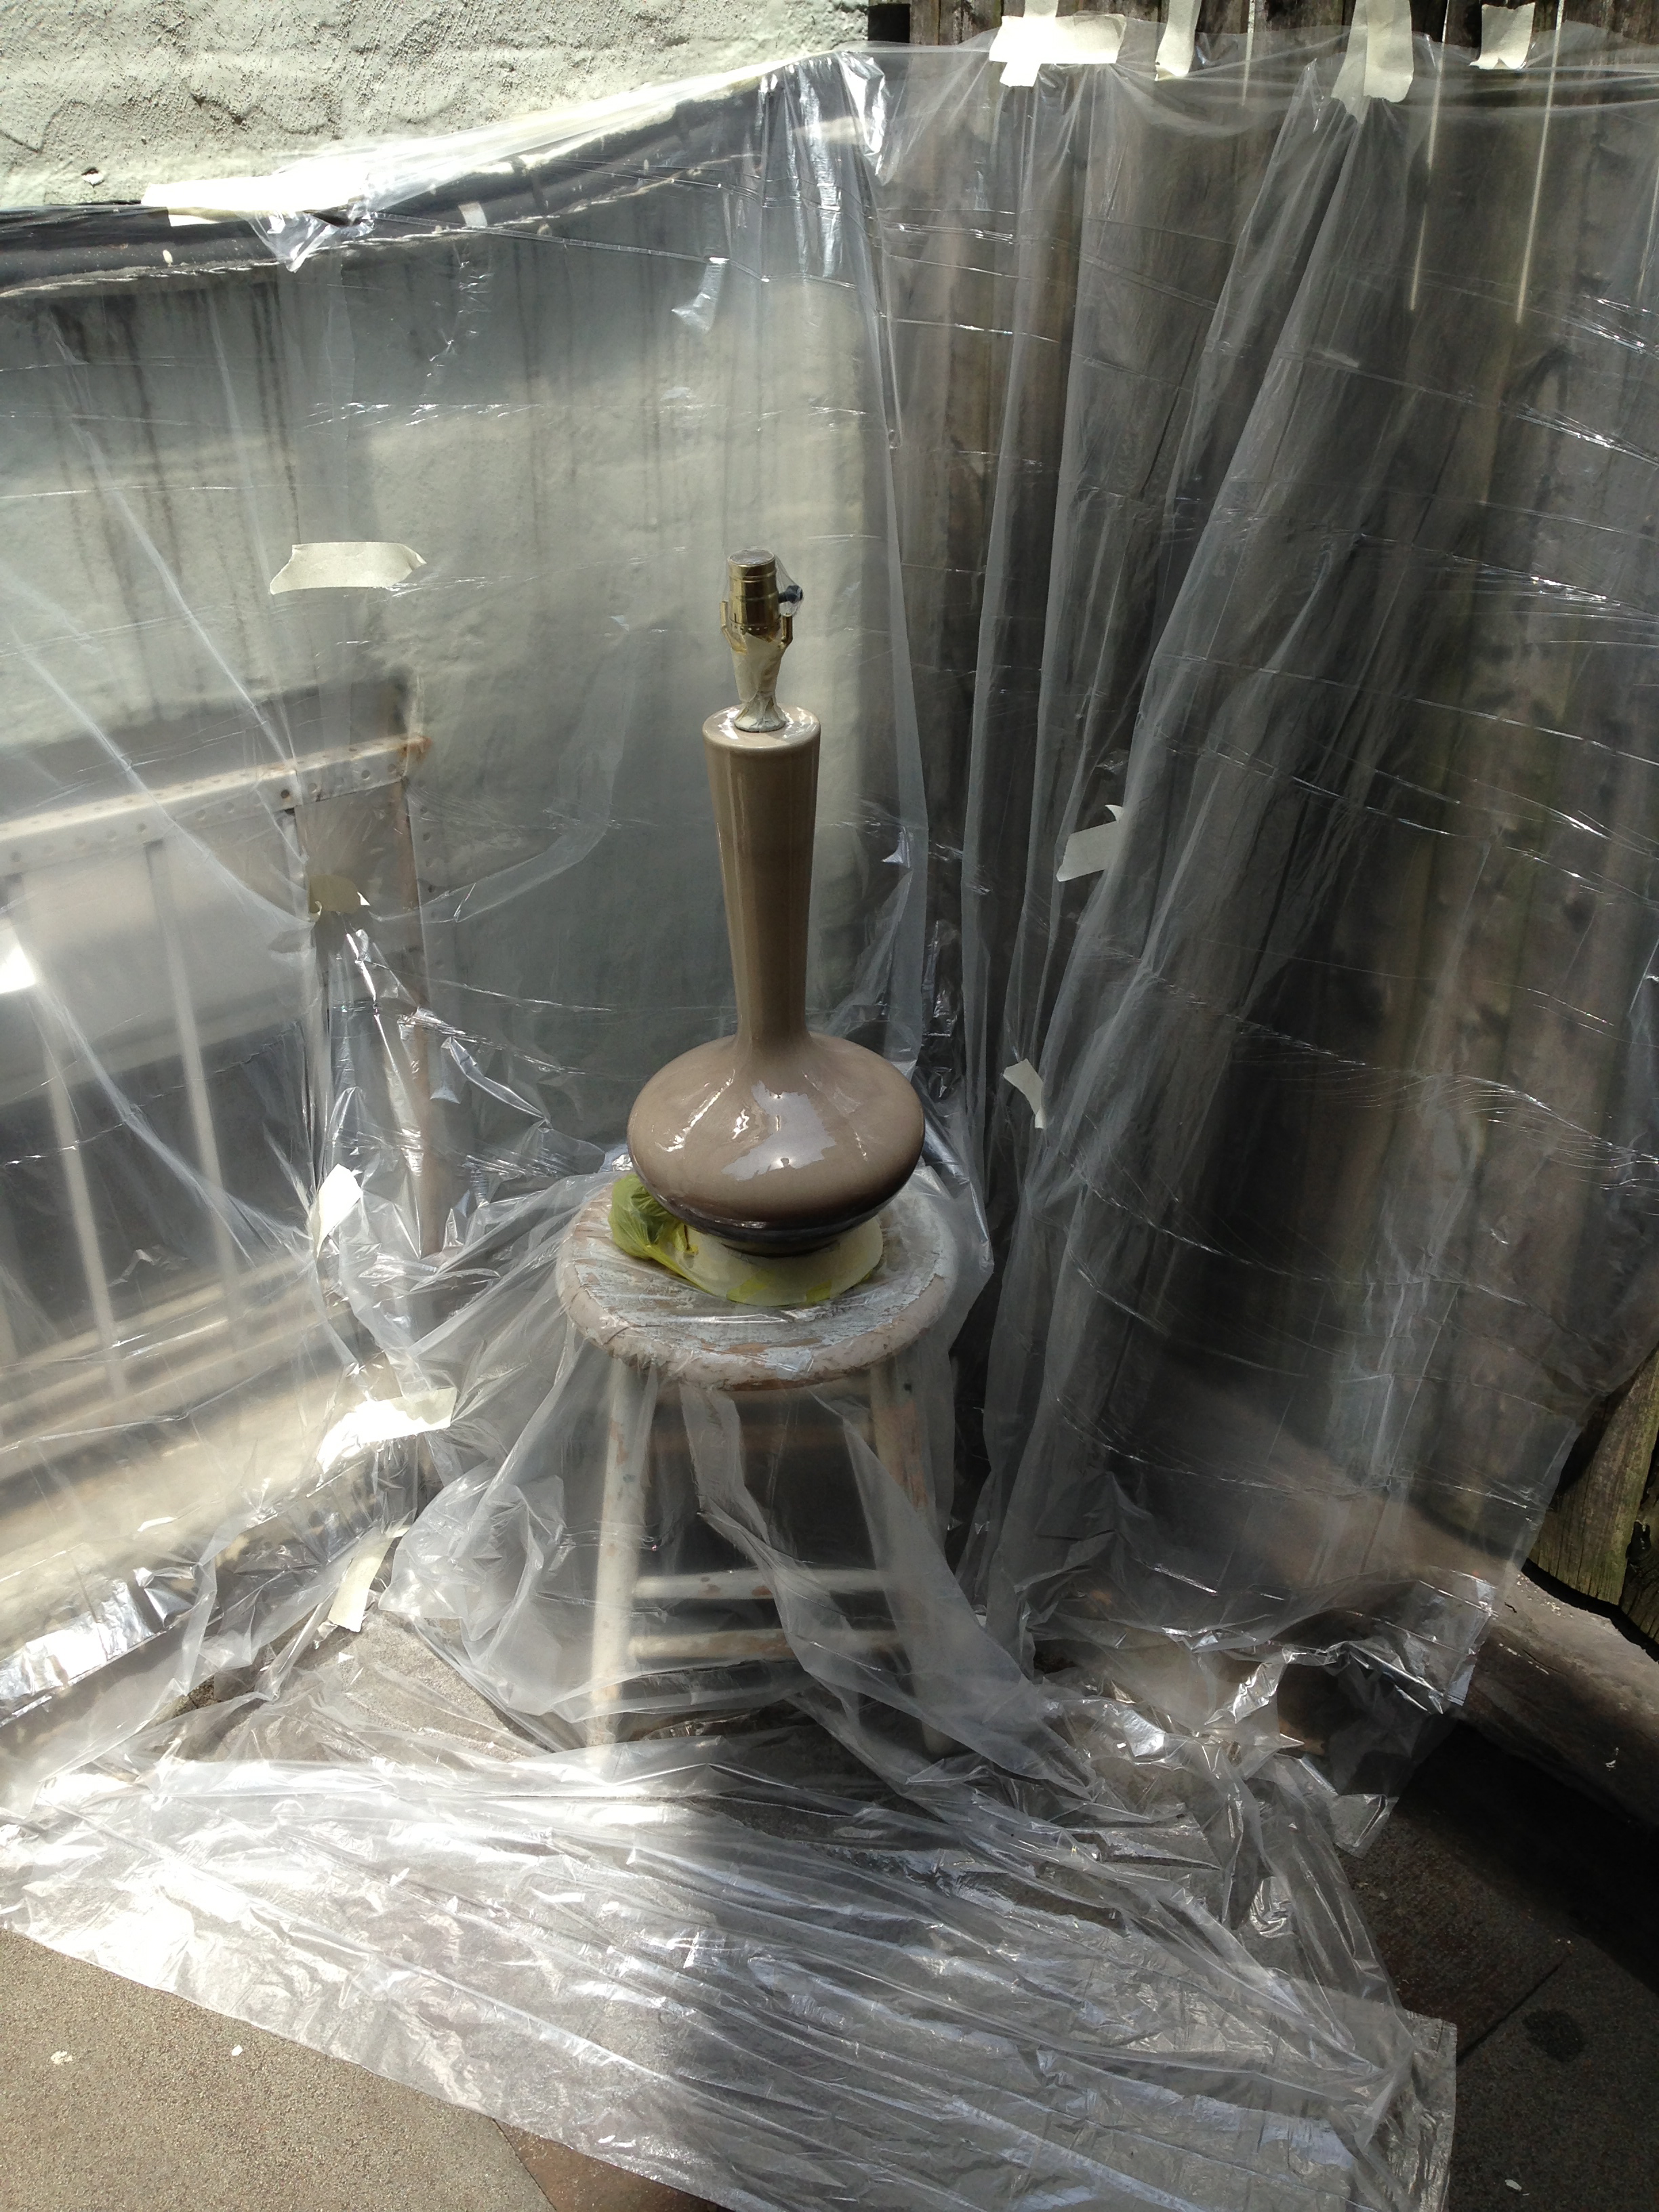
To help the primer bond to the lamp I took a piece of coarse sandpaper–something like a 60 grade–and sanded the whole thing. ALWAYS WEAR A MASK AND GOGGLES WHEN YOU DO THIS. I know I’m a crazed stickler about this but who knows what chemicals you’re releasing into the air by messing with sealants. Protect yourself!
After I scored the lamp with sandpaper I wiped it down with a damp rag to remove any residue and let it dry. While it was drying I covered the lamp’s brass fixtures by wrapping them in sandwich bags and taping them off. Make sure every milometer of what you don’t want painted is covered so you can really go to town with your spray can and not worry about leakage.
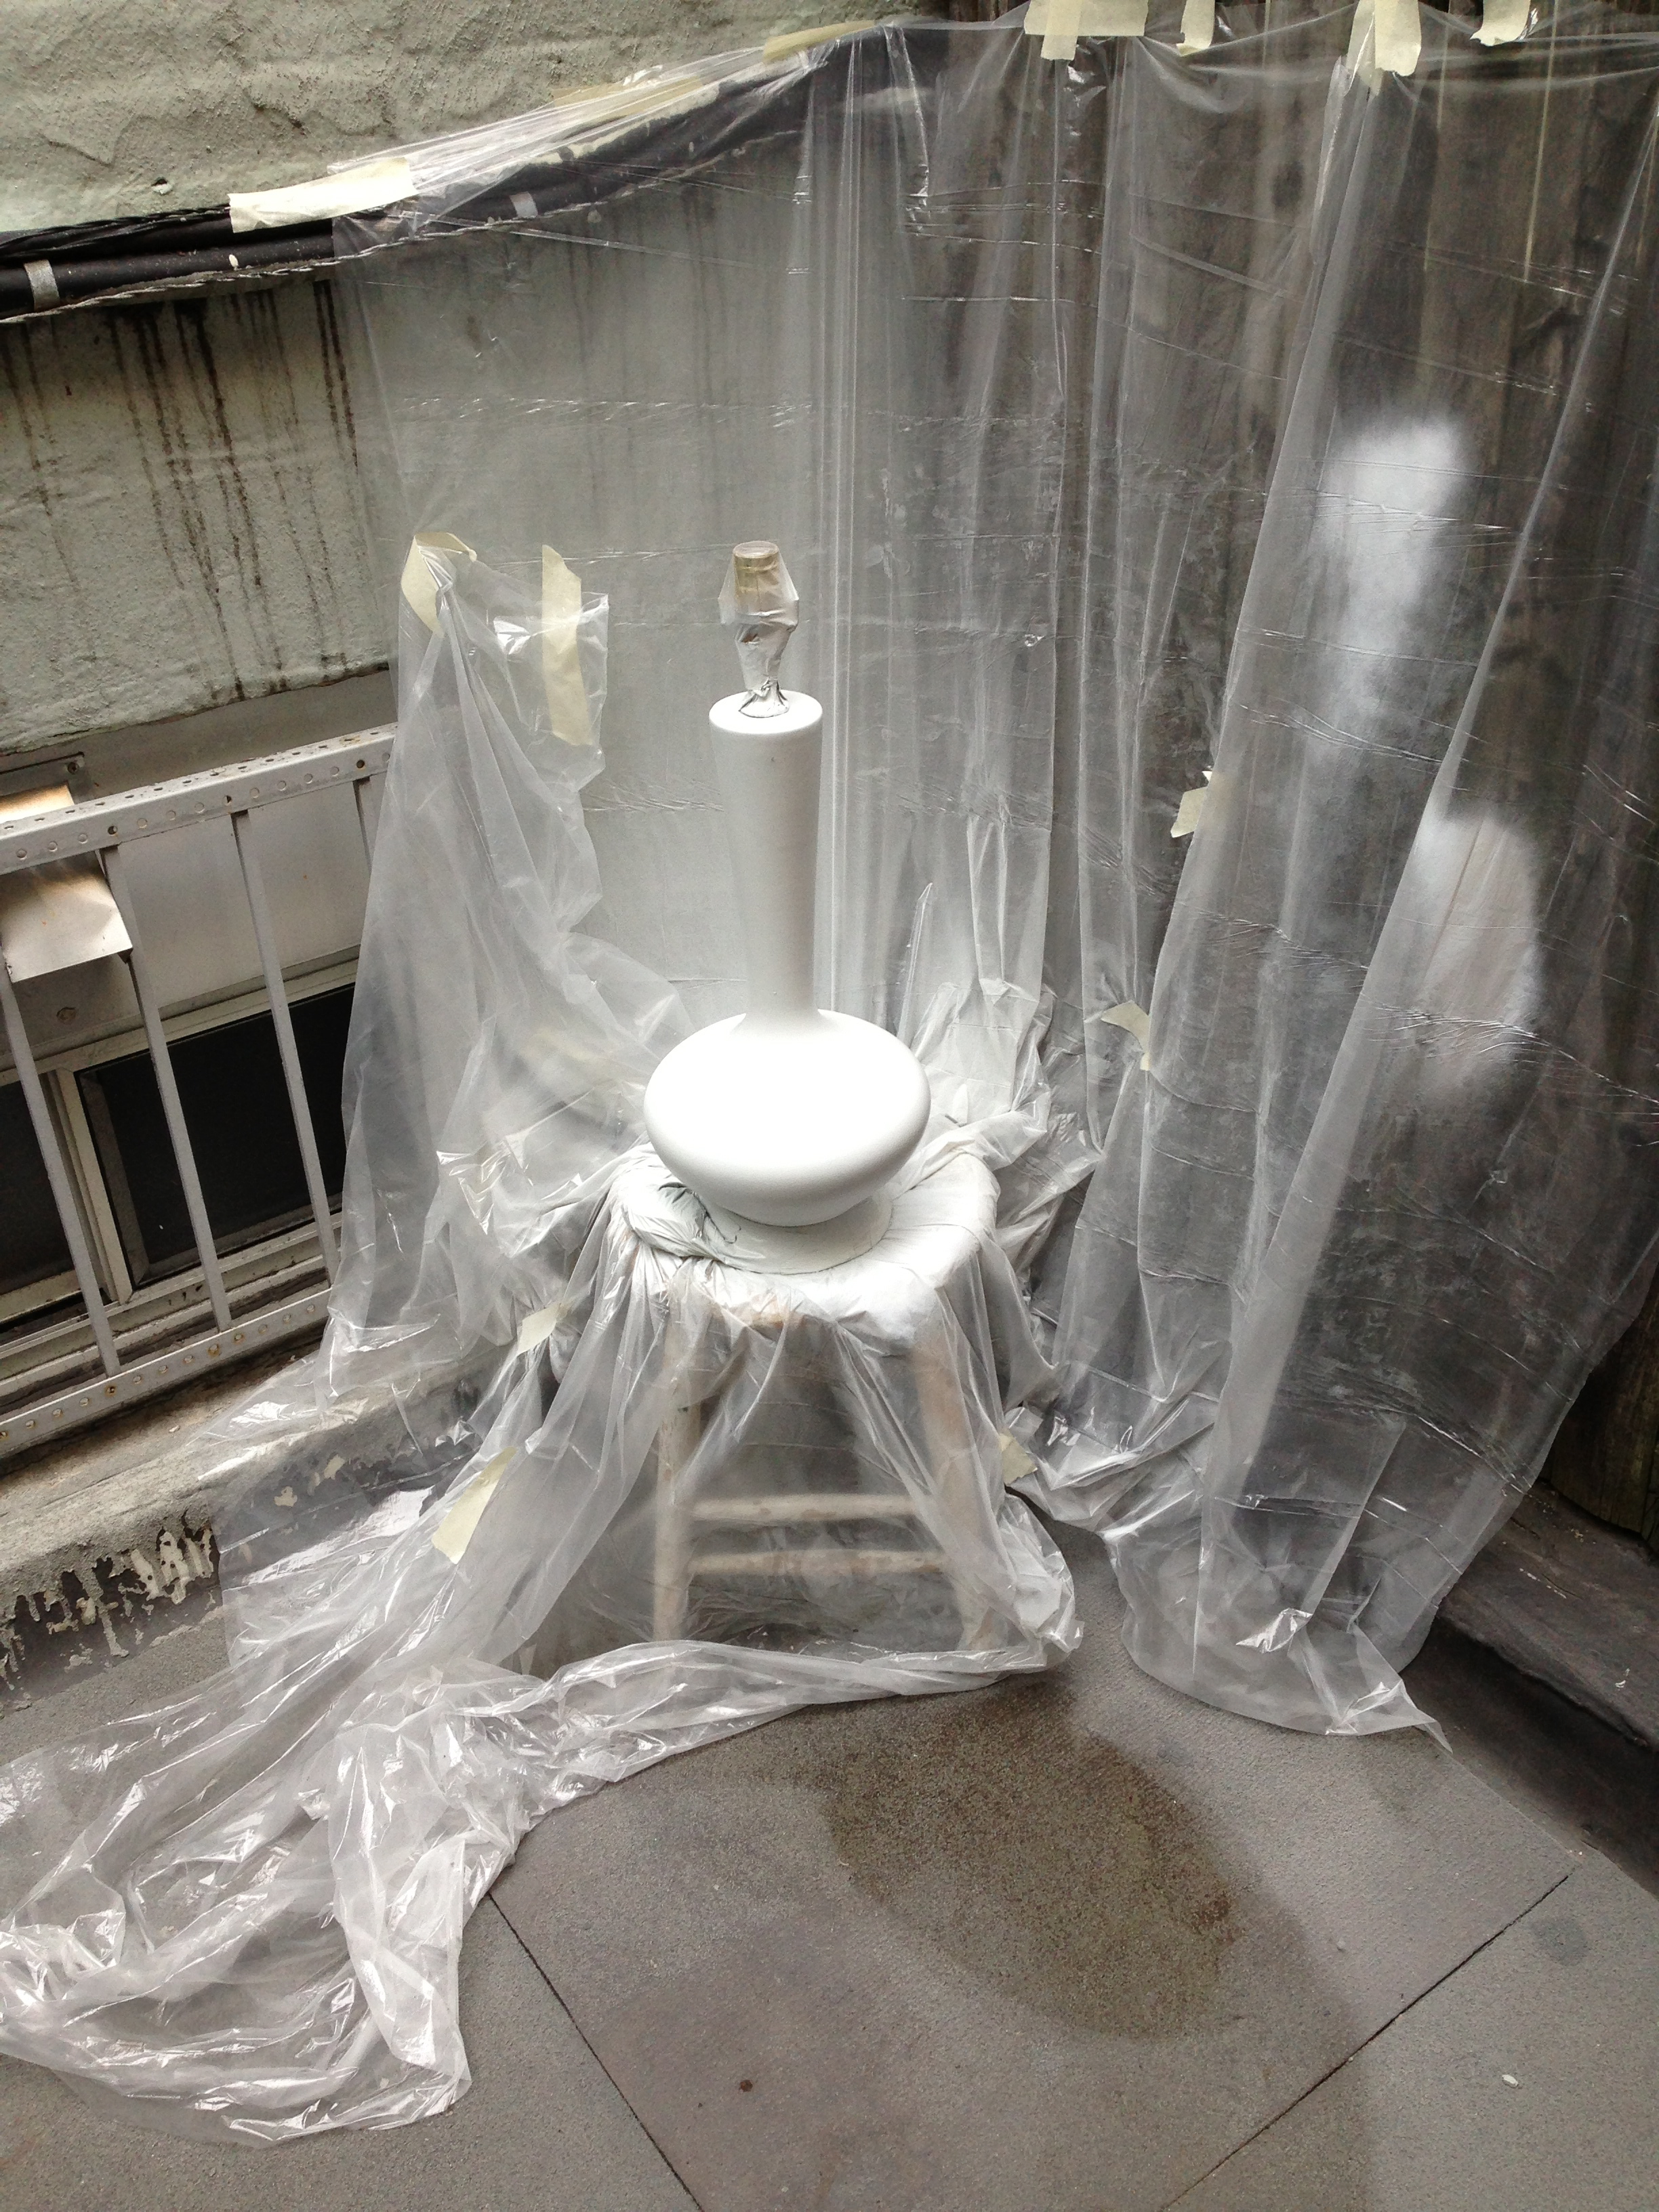
Here’s what it looked like after the first coat of primer:
 It’s important not to coat the entire lamp, tits to toes, on the first pass. It will require at least two coats to get a smooth, even finish with the primer, but I’m an impatient jerk and I tried to get it all done in one shot. When you do what I did though you run the risk of the paint collecting unevenly in spots and running. Which is what happened to me. Which is why I began to cry.
If this happens fear not and LET THE THING DRY. Once your horrid, lumpy beast of a paint job is dry you can go back with a very fine grade, gently sand down the imperfections and start again:

It really pays to be patient and follow directions. Give yourselves a big pat on the back, parents!
One way or the other you will get a smooth and supple finish, however I do not recommend doing it my way. It will only cause you unnecessary pain and heartbreak. Take your time and spray gingerly.
Once the primer was dry (I let each coat dry for an hour, even though the can said it would be fine after 20 minutes, to give it maximum hold) I went in with the color. I used Rust-Oleum’s Indoor/Outdoor Satin spray. Again, I’m not a guru about this stuff. I just knew I wanted something durable and if the can says it’s good enough for outdoor furniture then it sure as hell should stand up inside, right? Also I went with satin because it has a matte finish, which is always easier to pull off for novice painters like myself. Remember: the glossier the paint the more imperfections will show when it dries. If you are not at all confident in your skills (like me), do yourself a favor and paint in matte.
 Here’s a good tip to keep in mind: spray paint travels. Make sure to cover a larger area than you think you’ll need when painting. It may seem like overkill to buy three tarps when one will do you just fine but after a few coats and a light breeze those small particles can accumulate to make a big problem. Check out my patio once I finished. I lifted the rug just for some shits and giggles:

Finn does not approve.
Don’t be like me, kids. Take the time to cover your workspace. You (and your landlord) will thank you.
I gave the lamp four coats in total. That was probably overkill but I really wanted there to be a richness to the satin and a sense of texture to work with the shade. I think two coats should do most everyone else just fine.
Here was the end result:
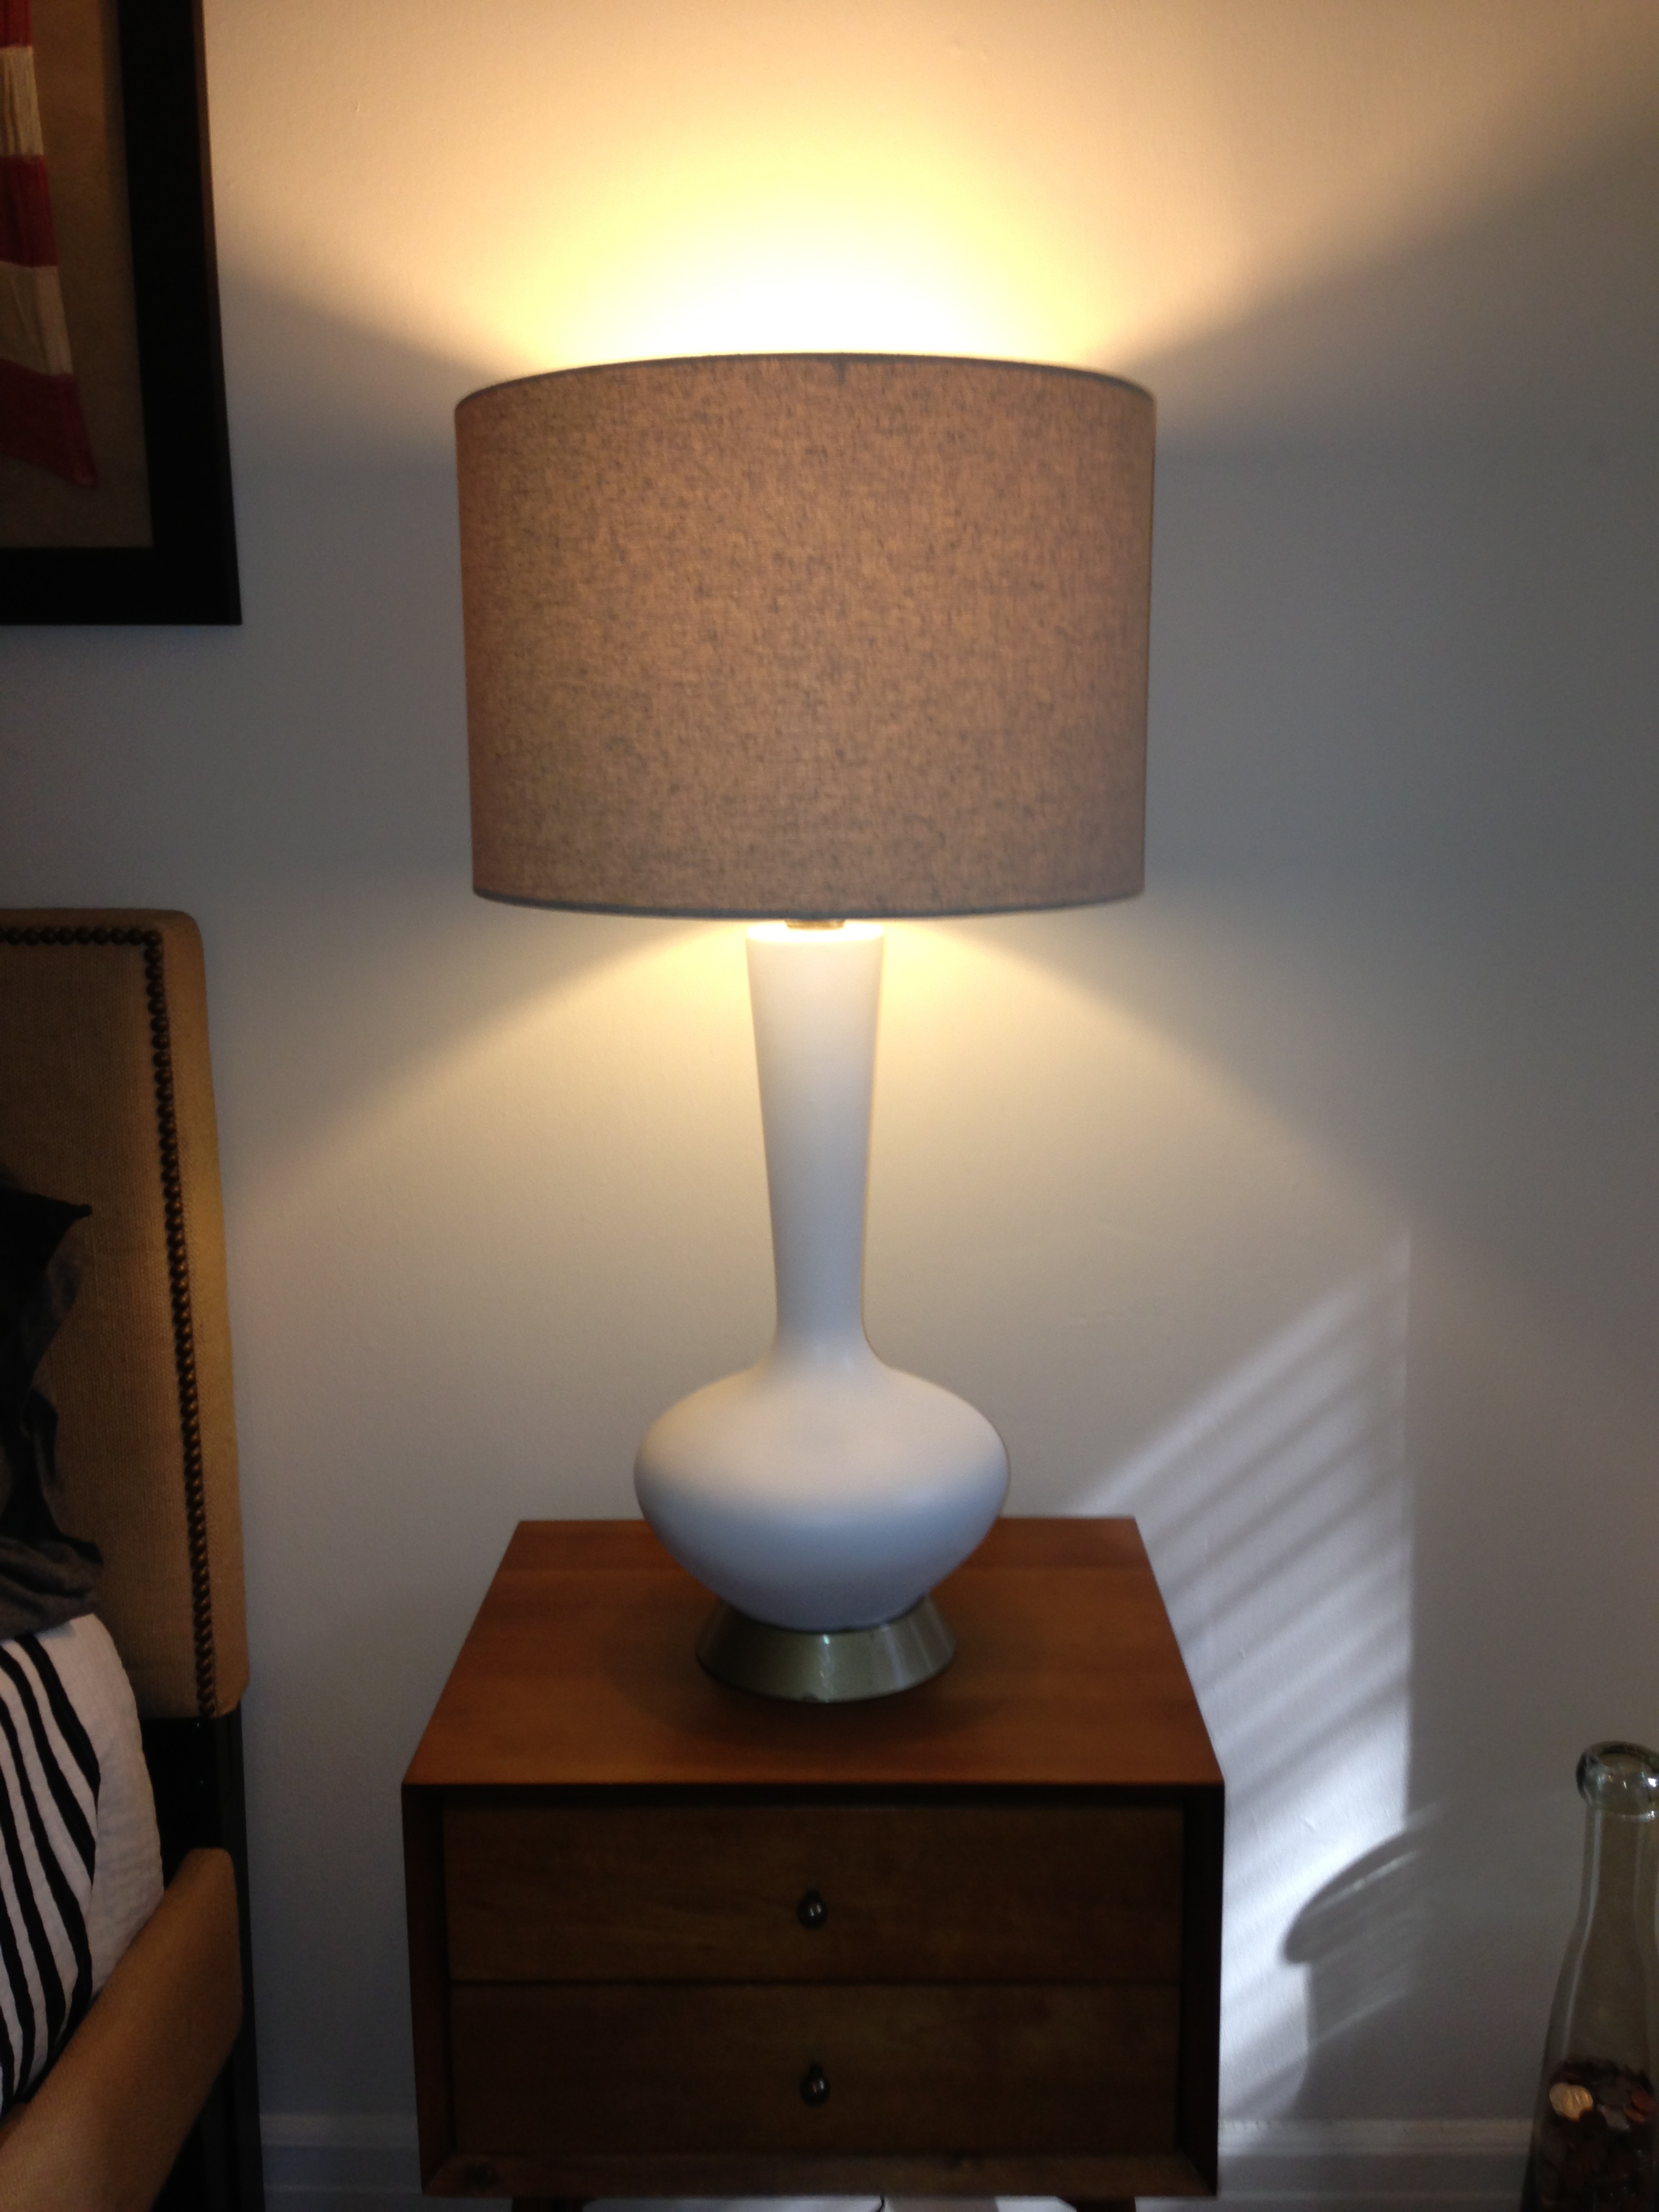 I think it’s a vast improvement over the original. Now it works with the shade, the brass fixtures and my apartment, and for $14, two cans of spray paint and roughly two hours of actual labor I was able to salvage something old and make it my own. There are a lot of things I would’ve done differently in hindsight (namely, taken my goddamn time) but even when things went wrong they were beyond simple to repair.

Pingback: NIGHTSTAND DIY | This Is Not A House