Last month you might remember I mentioned an exciting little nugget of DIY showed up on my doorstep. Well, that mystery package was actually a hunk of beautiful Northern California buckeye burl wood and the DIY in question is a new, sexy and rugged nightstand for myself.
The inspiration came from Morgan over at The Brick House. She did a fantastic color dipping project for Sherwin-Williams’ National Painting Week which I have been dying to do myself ever since I read about it. (By the way, go check out her blog! It’s brilliant and you’ll be much smarter for having given it a look-see. Promise.)
If you scroll down to my previous post about upcycling my Jon Hamm look-a-like lamp the last picture shows what I was working with in the nightstand department. When I moved into my studio I needed a something in a pinch and chose the Mid-Century Nightstand from West Elm. While I like West Elm furniture (my bed is WE and has been outstanding for going on five years now) it didn’t really fit the style of my apartment–I always knew I’d swap it out at some point–and once I found the perfect piece of lumber (from eBay! Who knew?) I finally had the opportunity to do something unique with the space next to my bed.

The piece came totally raw, so I first started by finding the lowest grade sandpaper the corner hardware store carried (40) a buying a lot of it. I don’t generally recommend buying sanding blocks. If you’re like me and don’t have a lot of storage go with paper sheets instead. They’re just as effective, cost less and are easy to store if you have leftovers. I seem to always have a use for sandpaper, too (strange, I know), so having a little extra is always a good thing. Plus, for this project, you will need an assload.
Then I set about creating a smooth and even surface by sanding with the wood’s grain until my hands became bloody stumps. Even though I new which side would be my top I sanded both sides of the wood anyway. It might seem like more work than’s necessary but if you don’t you’ll have wood dandruff flaking off from the underside of your nightstand for years to come.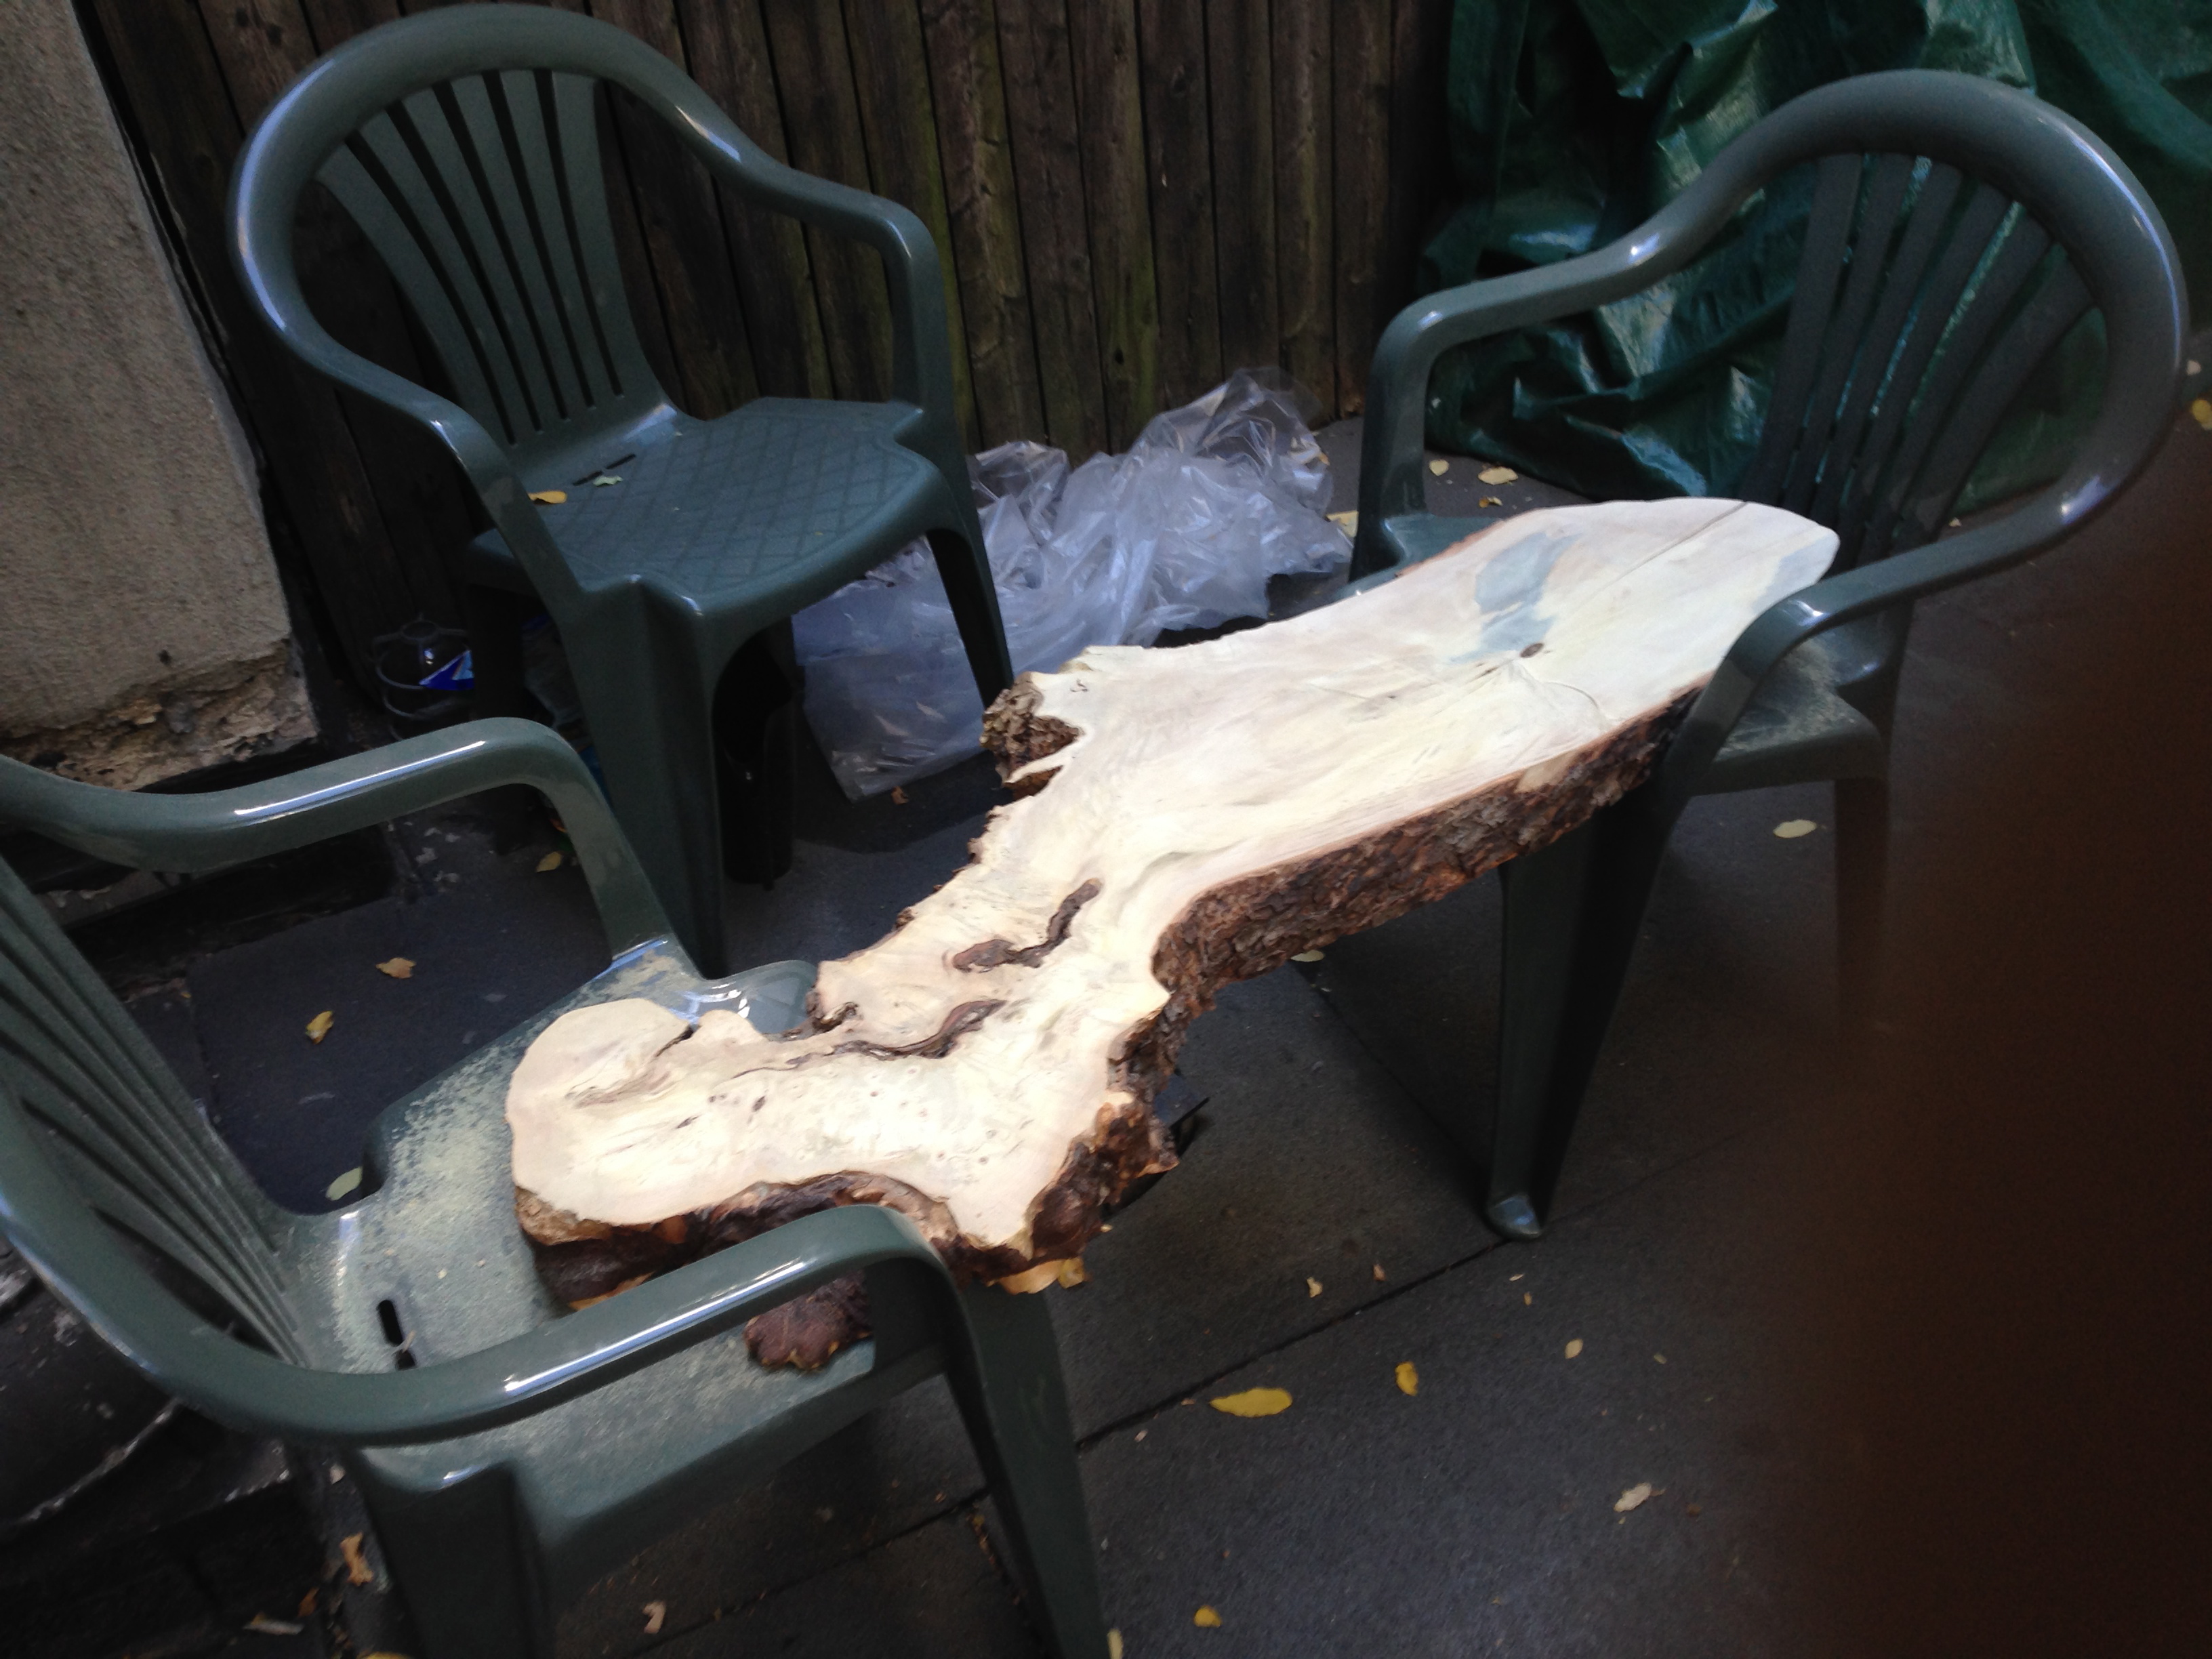 Burl wood is a fairly soft wood but if you get a piece as raw as mine you’ll really need to work at it to get an even consistency throughout the piece.
  Also, burl wood is an abnormal growth found on trees, the product of an environmental stress suffered by the tree, most often caused by fungal or insect infection, so you may need to sand deeper than you expected to eradicate any bands of dead fungus or such. (Oh, nature!)
 Oh wait, did I mention sanding until your hands are nothing more than oozy little potato buds? I did? Well, ok, I really meant it.
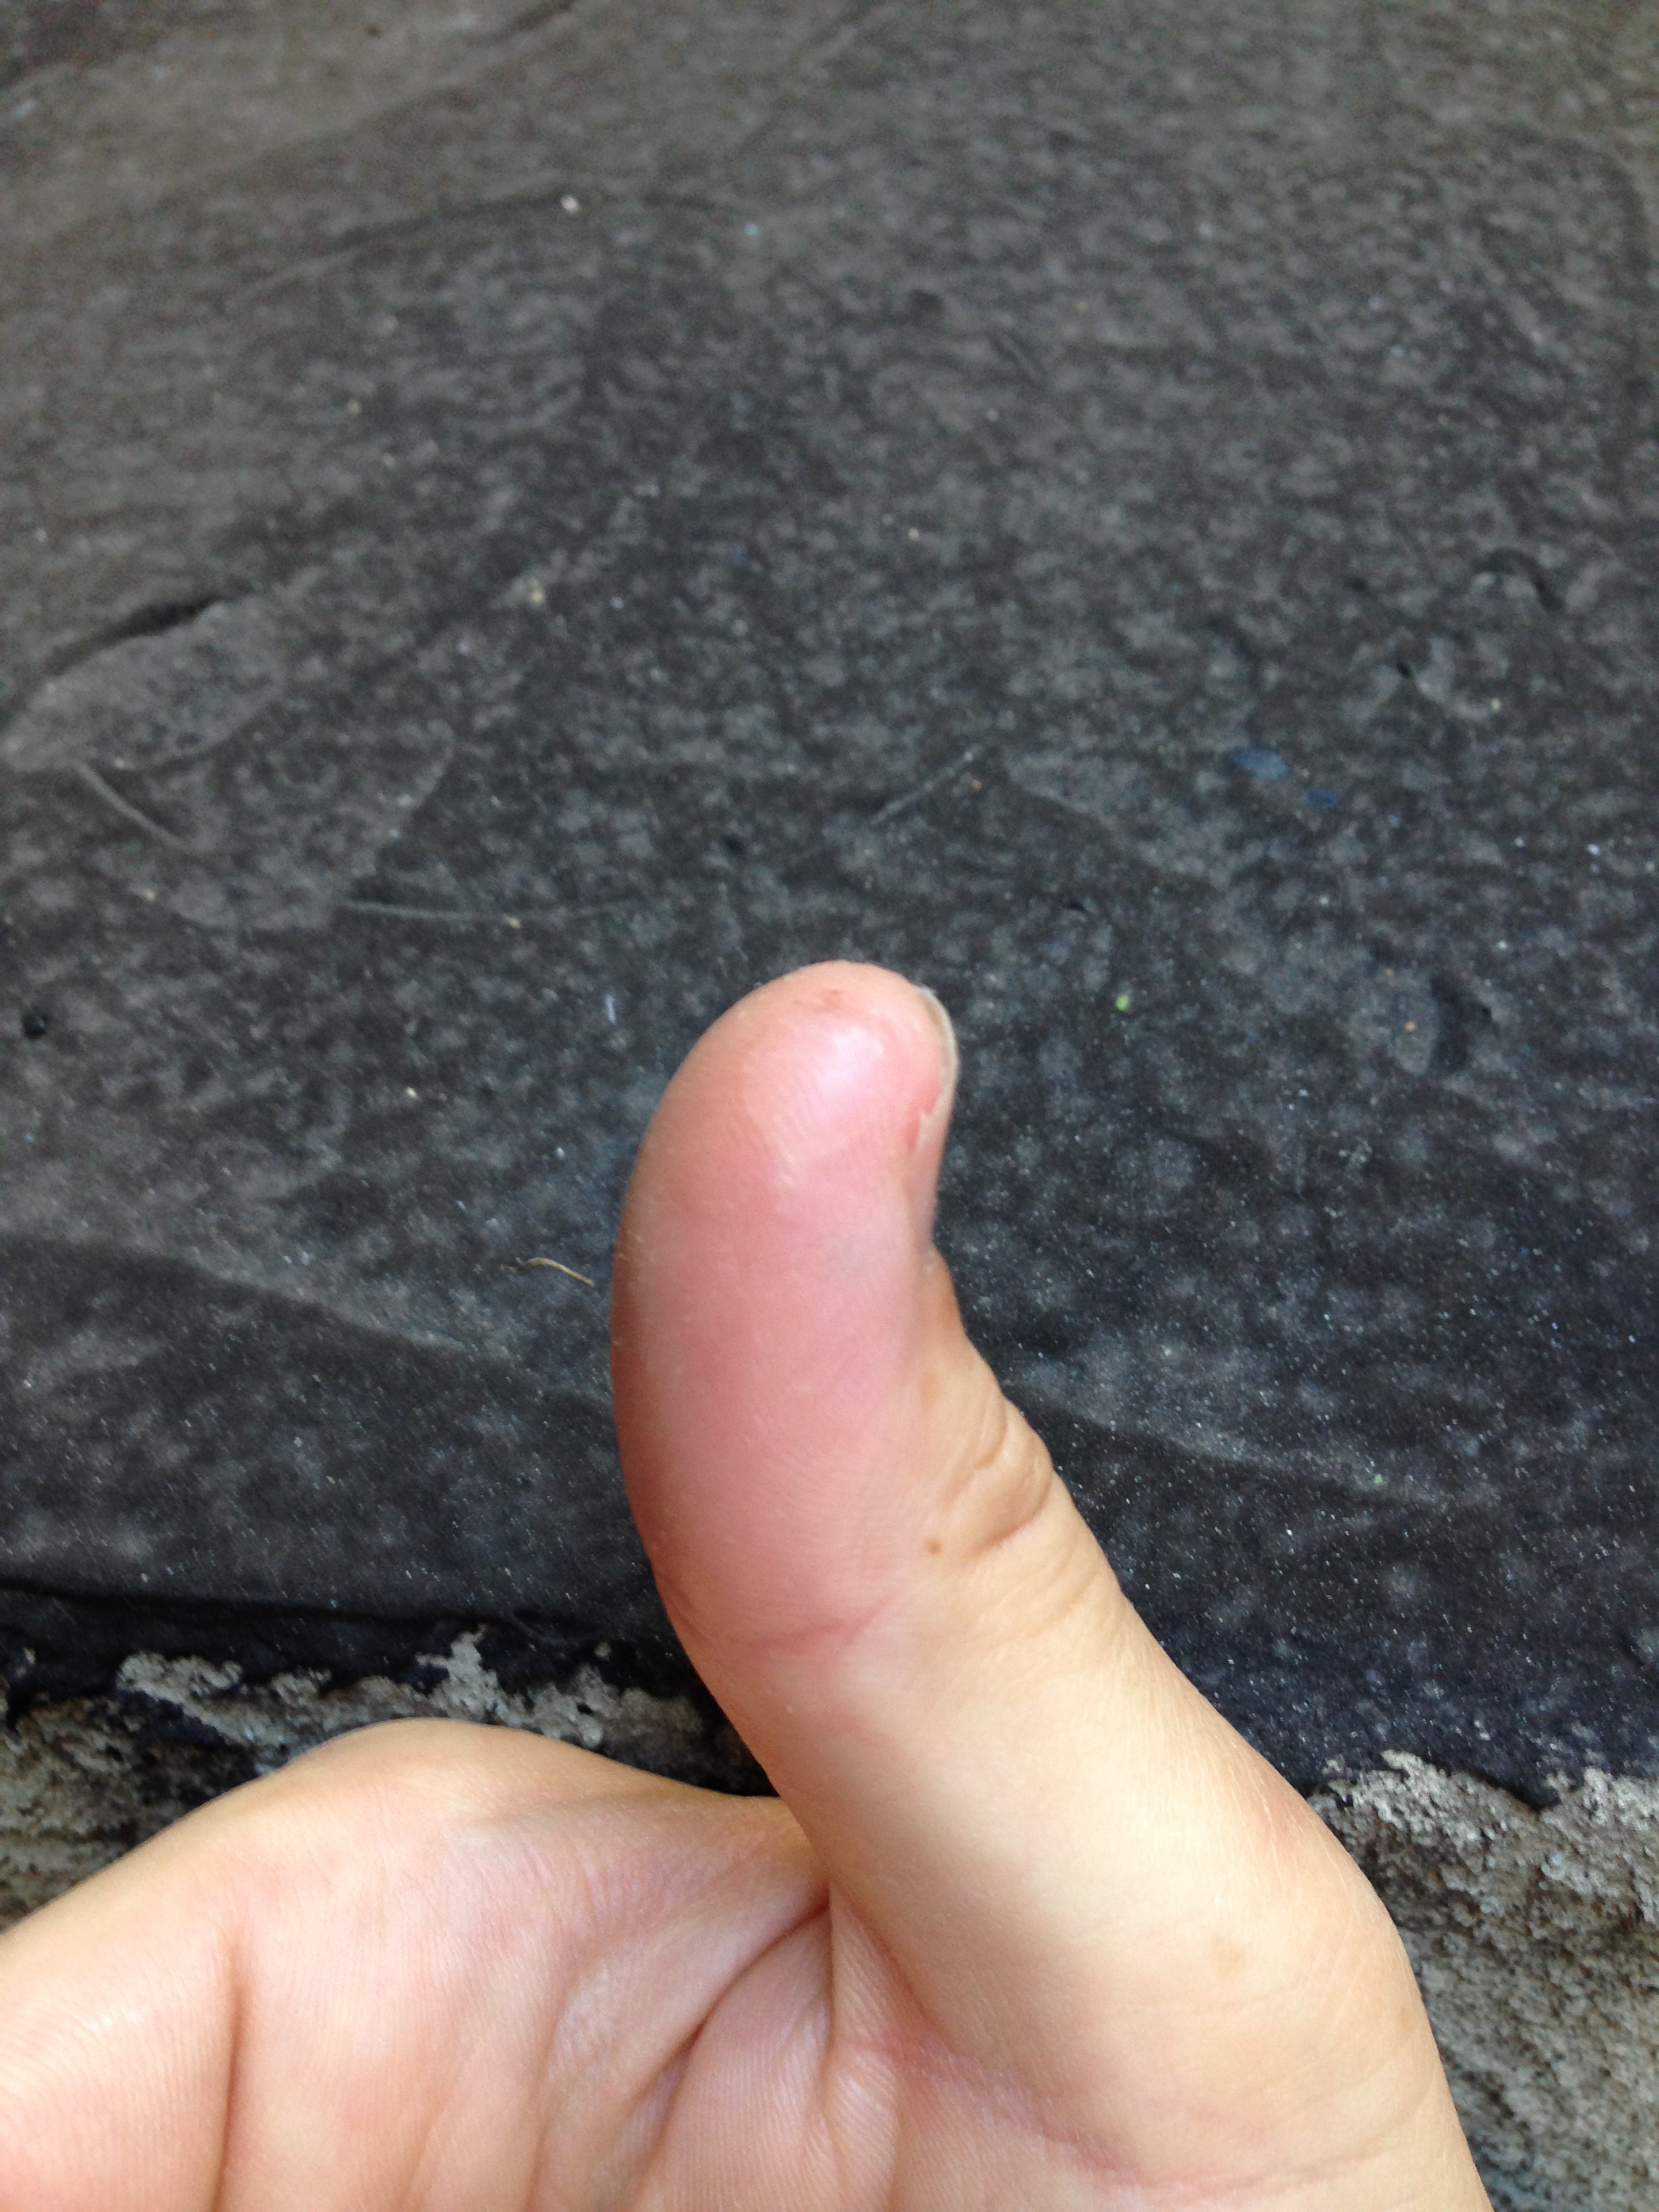
Seriously sanding Susan
If you’re not giving yourself blisters THEN I DON’T WANT TO HEAR IT.
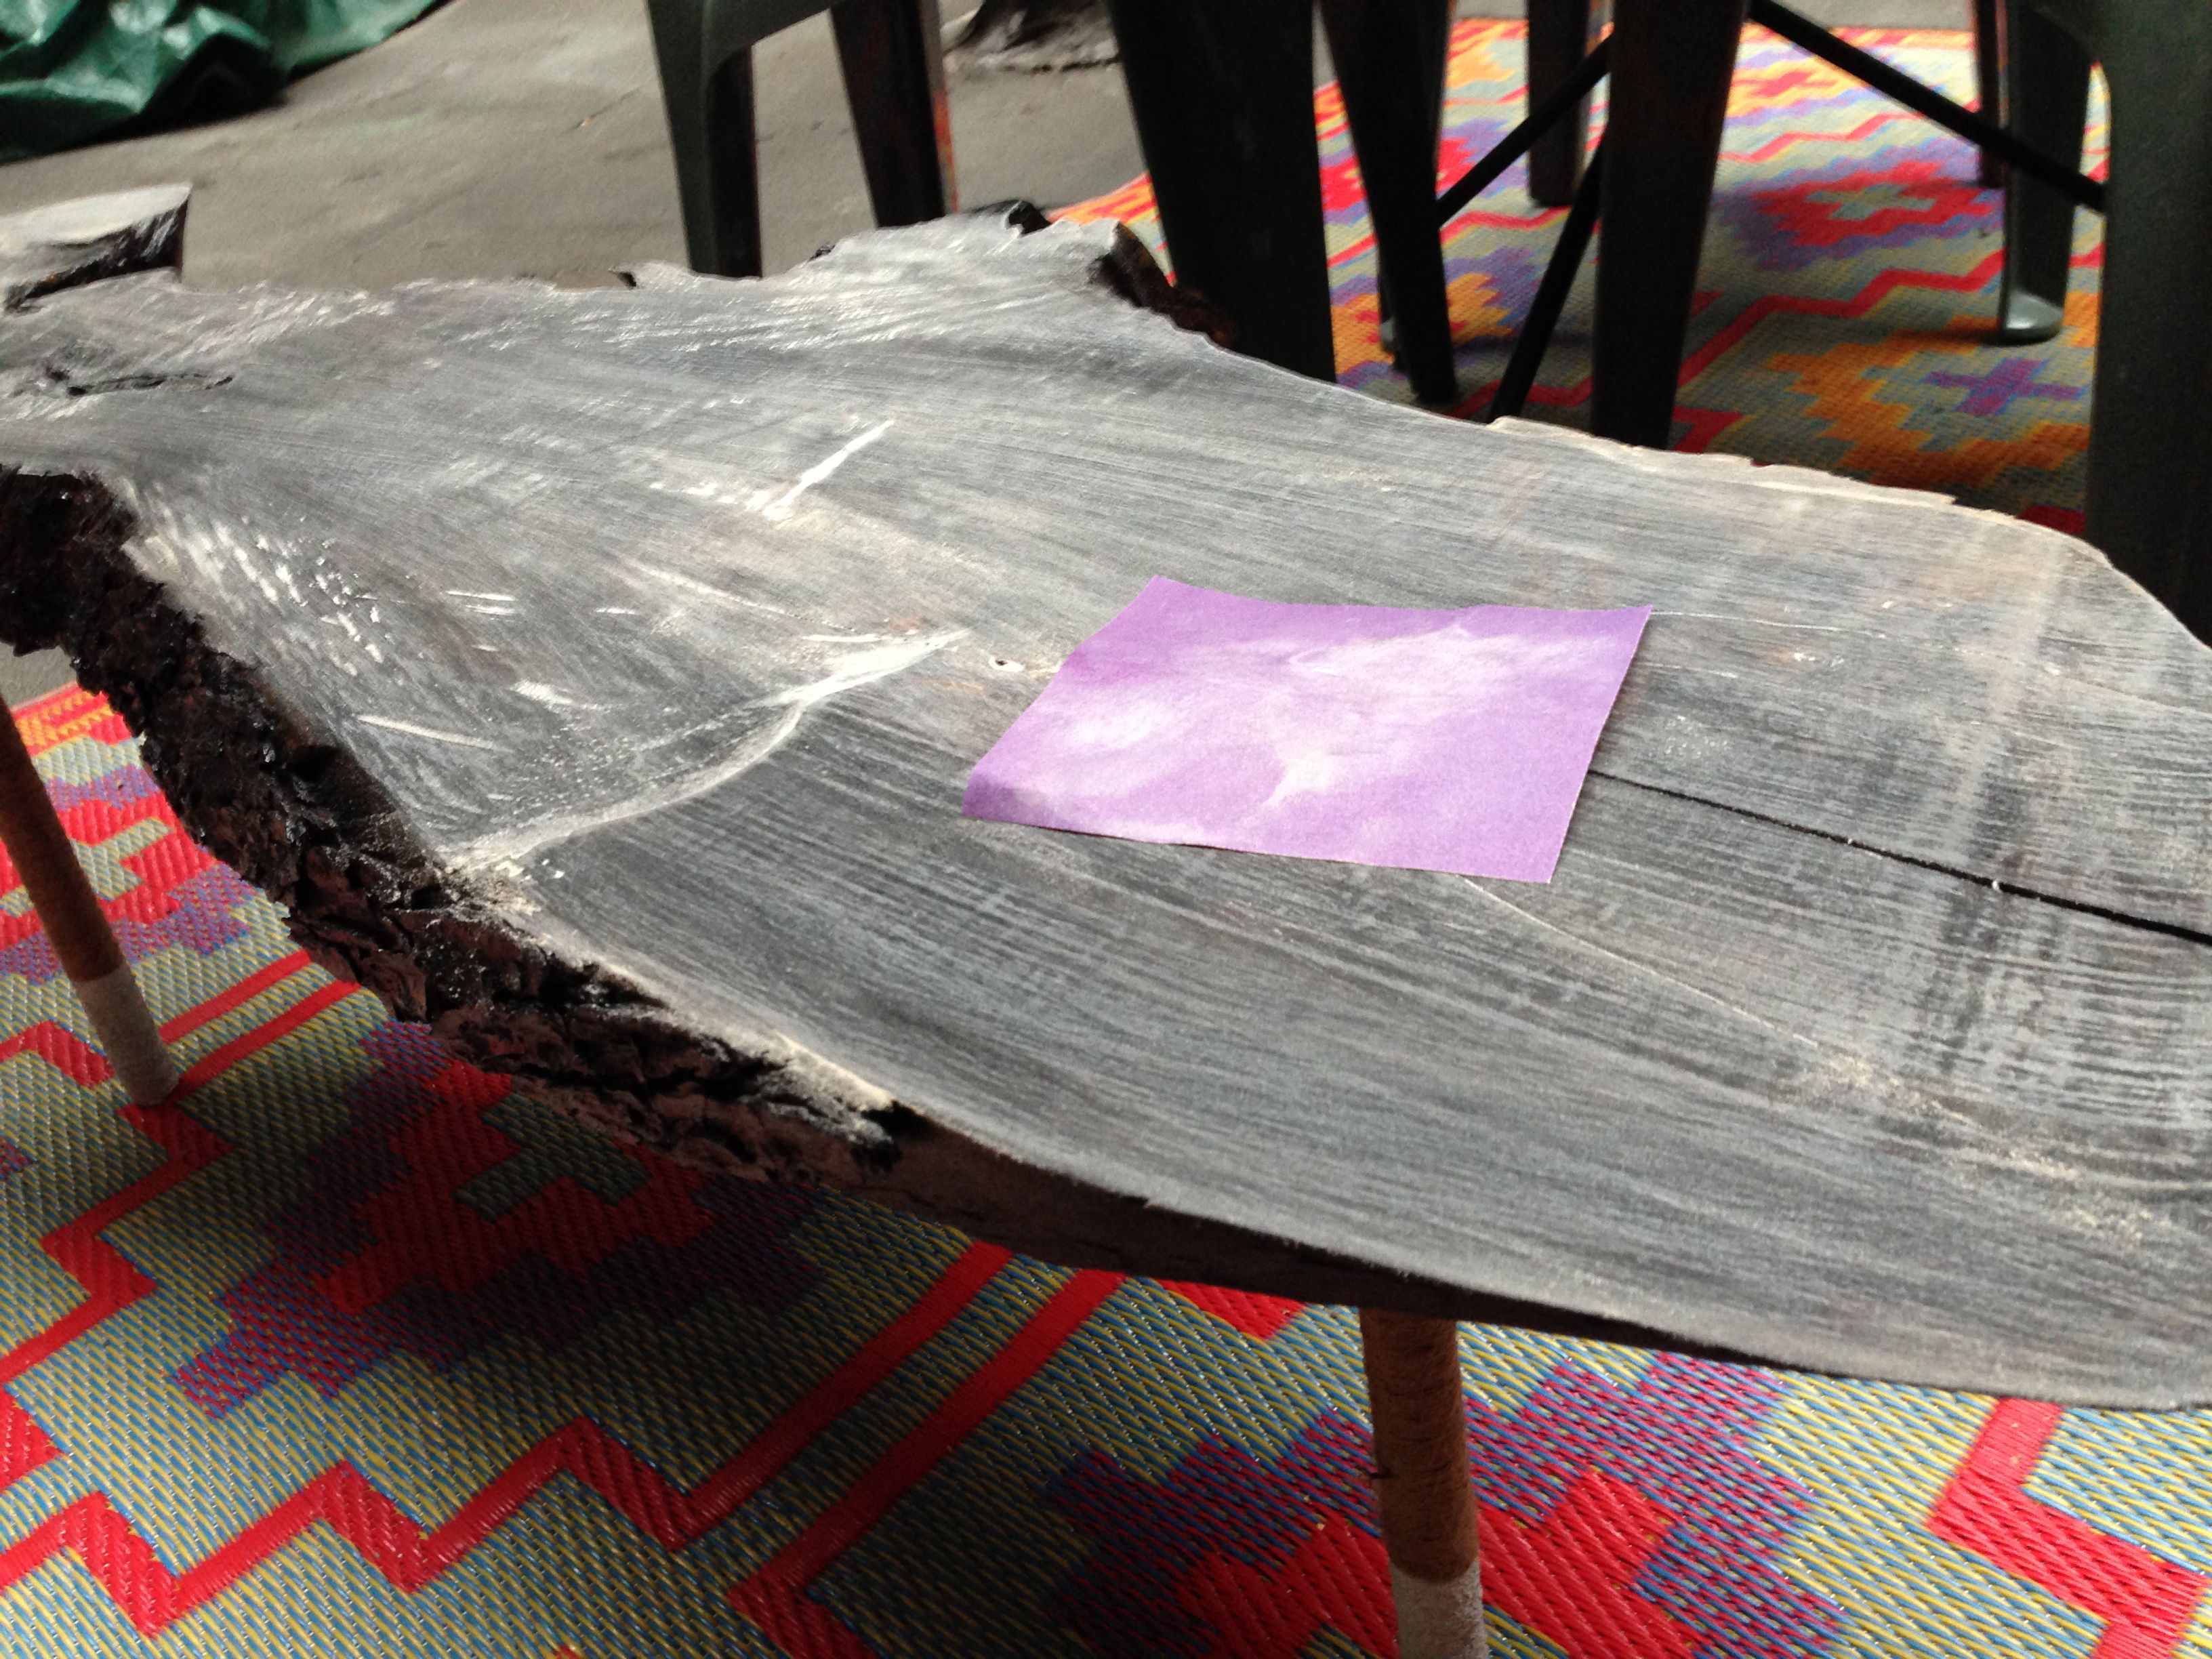
Once you’re done with the coarse sanding and you’ve bound and dressed your wounds, if you can still lift your arms take a finer grade sand paper (120 or higher) and give the whole thing a little love. Nothing nuts, just light and even to smooth the whole thing out. Again, with the grain people. The grain is your friend.
Now, depending on the piece of wood you find–raw, vintage, pre-stained–this step may be different for you. Since my piece was raw (and because I’ve made no illusion to being a patient person) I didn’t use a primer; just went straight to staining. If you don’t have a raw piece of wood, or if you do and are seeking a specific tone, priming never hurts and will always give you the upper hand. I, however, had some leftover stain from a previous project that wasn’t as dark as I wanted so I knew I’d be making several passes with the stuff to enrich the color anyway, regardless of the wood absorbing the stain or not. Leave it to me to not do thing the way you’re supposed but that’s half the fun of DIY-ing. You have to find your groove!
Speaking of staining, I get asked a lot what kind of brush do you use for what and why. Well, friends, this may be wildly inappropriate for me to admit but I don’t really know. Nor do I care. I use foam brushes for just about everything because I feel they’re more forgiving than bristle brushes when you make a mistake. Plus you’re not forced to hunt for runaway bristles stuck in the coat of the thing you’re painting/staining/priming/sealing. For me, it just cuts out the worry of screwing up. So…foam brushes. Forever and always.

Dark walnut beauty
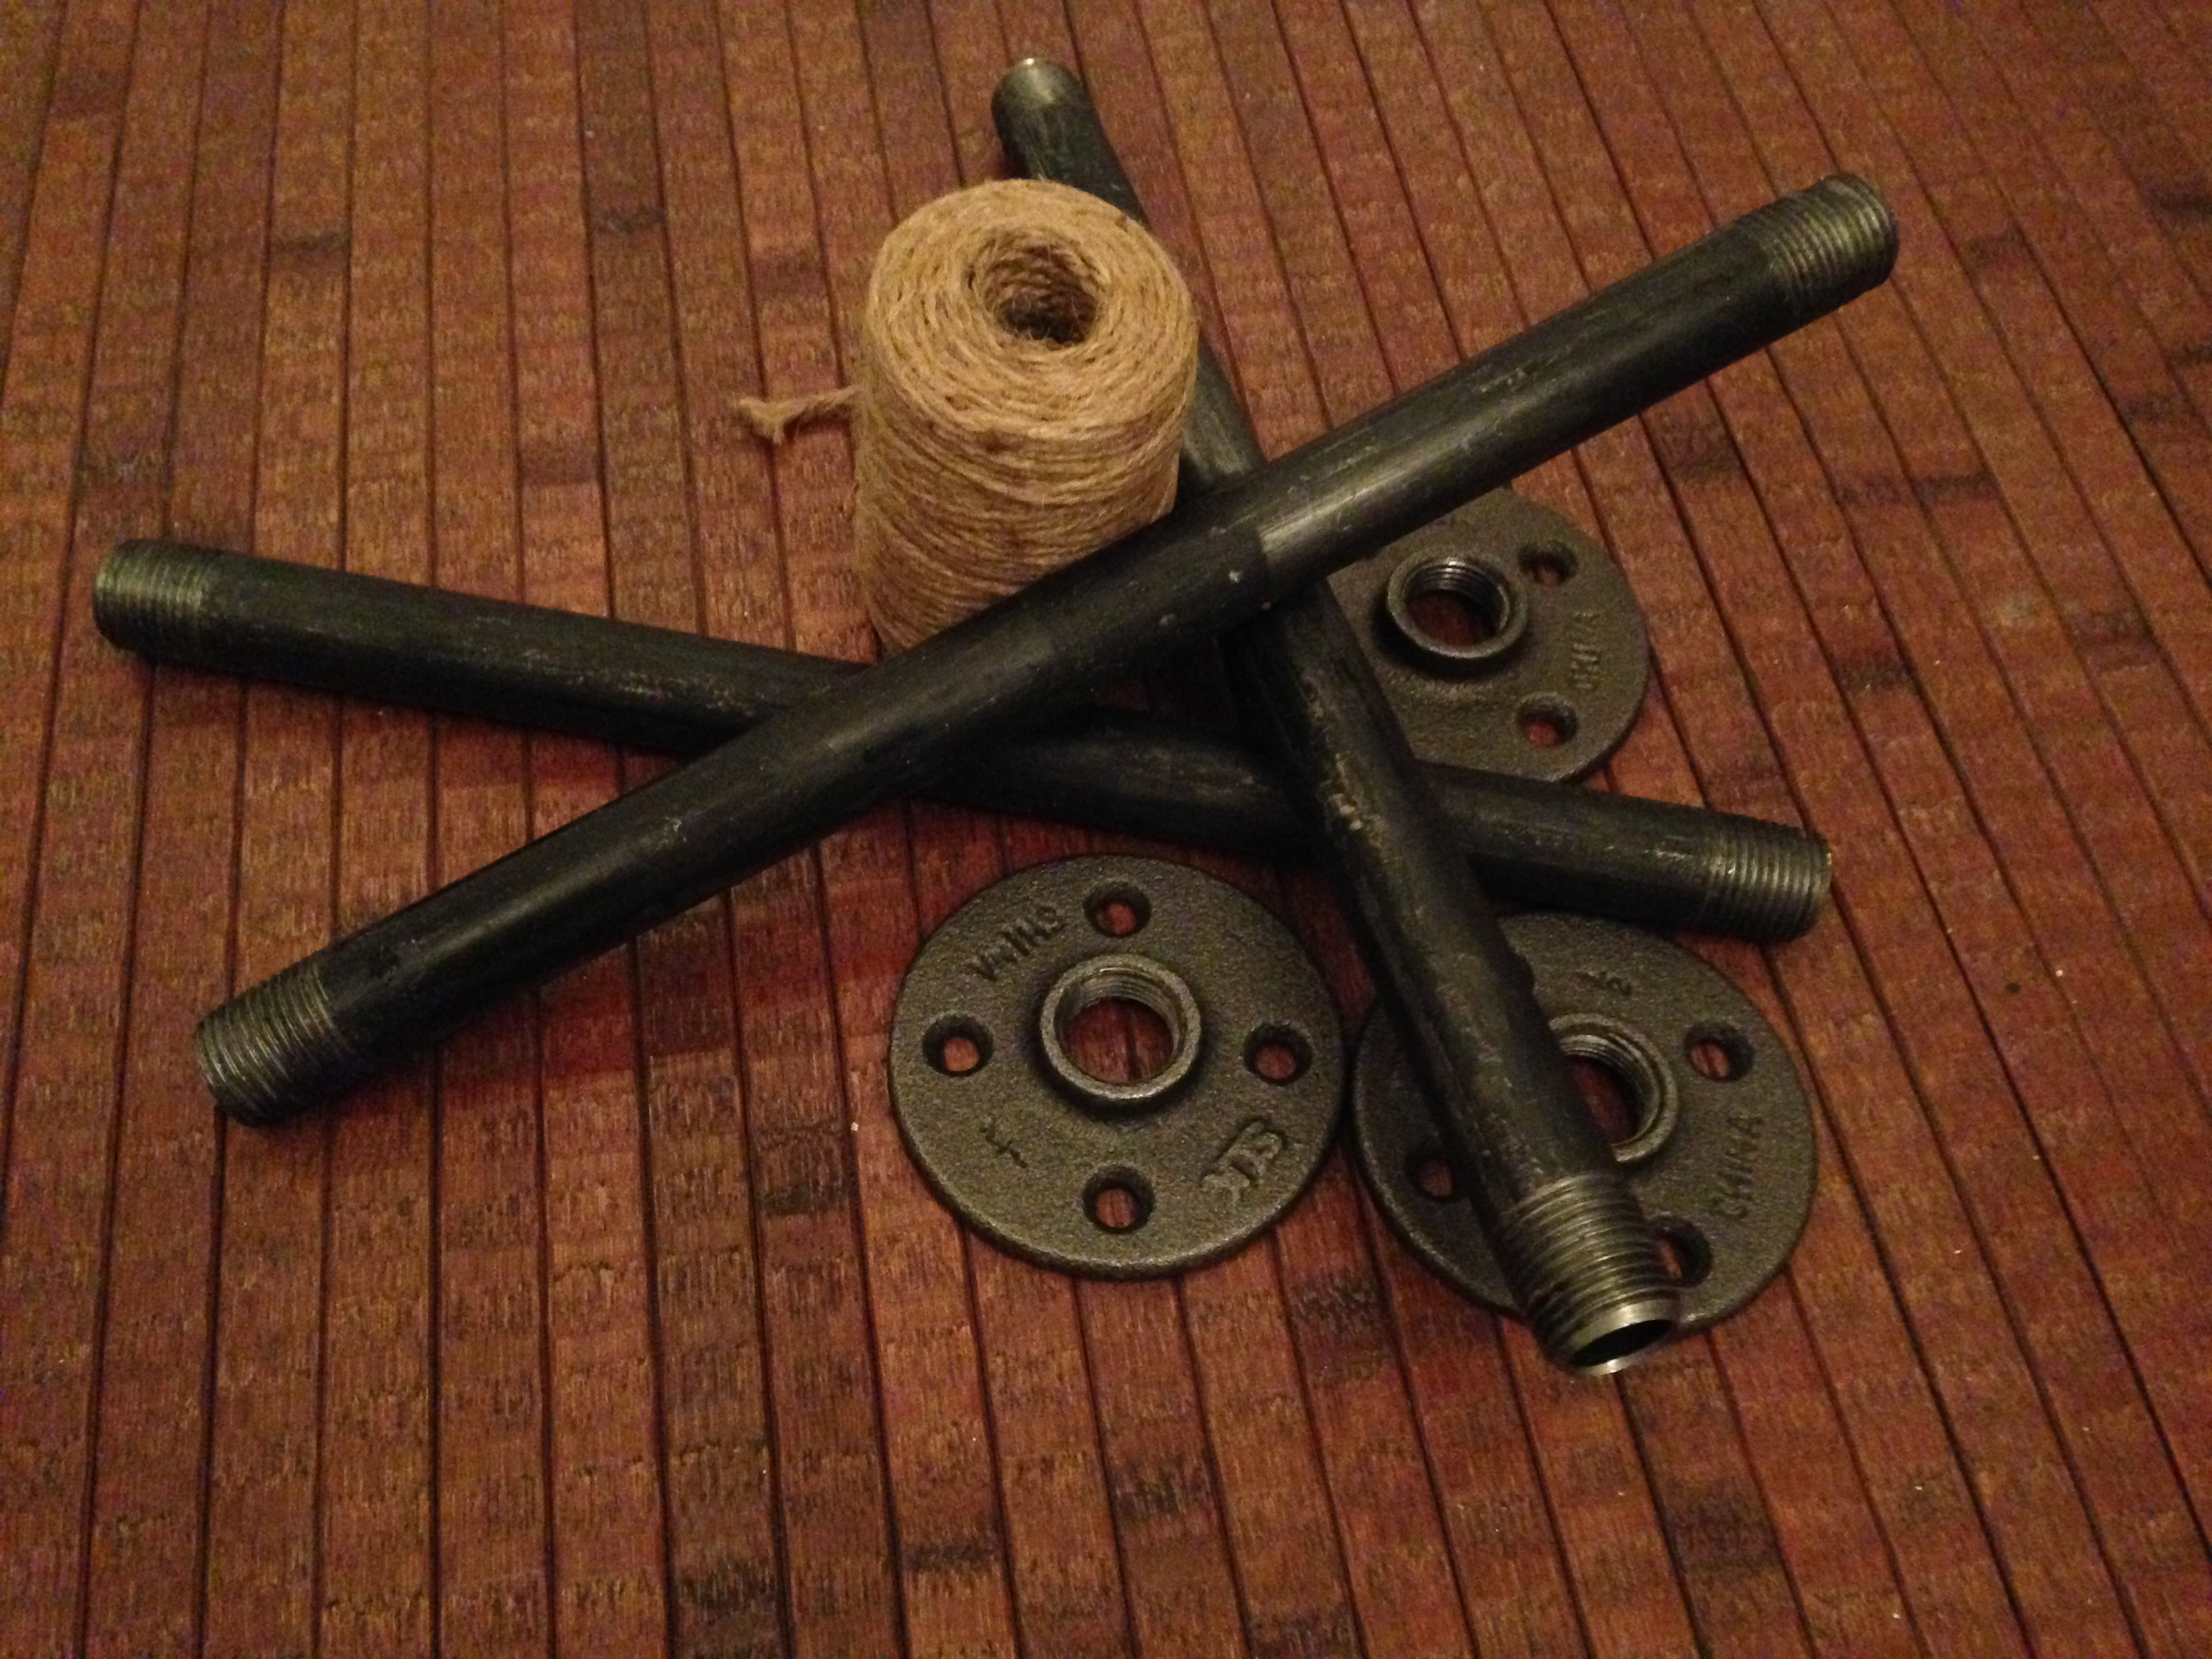
Stained and drying, I went on to the next step: the legs. For this you’ll need an equal number of galvanized pipes and floor flanges. No, a flange is not one of Pheobe Buffay’s fake names, but what you’ll need to affix the leg to the bottom of the nightstand. The size and length are totally up to you. For this project I used three 1/2″ x 12″ pipes and their corresponding flanges. Home Depot will always have this stuff in stock–look in the plumbing aisle.
Grab a ball of twine while you’re out, too. Jute is best or any other kind of untreated rope. I found a roll of jute at the corner hardware store for $3. Just don’t get anything waxy or plastic. You won’t be able to paint that and also…gross.
 Warning: this next part may obliterate your thumbs, so if you actually gave yourself blisters from sanding earlier, well, (1st) Bravo to you, welcome to the club! and (2nd) you may want to wait until you’re healed before attempting the following. However if you’re feeling wildly adventurous throw on that White Snake denim jacket and continue being a total badass!
 Screw the flange to one end of the galvanized pipe. Place a small bead of glue (I used hot glue because I’m Martha Stewart and have a glue gun at the ready at all times, motherfucker, but you can use Gorilla Glue or something else if you’re basic like that) at the top, where the flange meets the pipe.
Using your bruised and bloody thumb as a guide tightly wind the jute around the pipe with your other hand, pushing upward with your thumbs every few rotations to make sure everything’s right and tight. I used a relatively thin gauge of twine so it took me about 30 minute/pipe, but if you’re using thicker rope it may go quicker.
Drop a little beadlet of glue every inch or so along the pipe to make sure the jute doesn’t jostle. When you reach the end of the pipe cut the twine, giving yourself roughly 1/2″ on the end to tuck inside the pipe and glue. Maybe do this step with a knife, or chopstick if you have one handy, so as not to burn yourself/adhere your first layer of skin to the pipe.
Once that’s done it’s time for my favorite activity: spray painting wildly and without abandon! Like Morgan did in her post, you can dip the legs in a can of paint, which is probably easier and less messy, but I didn’t have any so I just went full tilt with a can.
The length of the color block is totally up to you. I did 3″ from the bottom of the leg, taped if off and covered the rest of the leg in a grocery bag:
 Jute is spongy so don’t be surprised if you have to dip or spray a few times to get your desired color density. Those should dry pretty quickly but you may be held up at this point for a day or two as you wait for the stain to dry before applying your top coat.
I’m not a huge fan of polyurethane in general (it just seems so obviously environmentally egregious) but I understand why we use them, so use it I did. It’s important to seal up your work after putting this much time and energy into it. When you do apply the poly top coat definitely use a foam brush. High gloss polys are very unforgiving to mistakes so a fat foam brush will be your best friend for this next step. I also recommend three to four coats. Seriously. You know I’m not a fan of extra steps but I think you’ll really be glad you took the time here.
Allow each coat of poly to dry fully before taking a microgrit sandpaper (maybe 240) and lightly sand to even out any inconsistencies. And, as always, wear your mask and goggles, ya dopes! How many times do I have to say it!?
 Wipe off the poly dust you made from sanding with a damp rag, let the surface dry then repeat the whole thing again until the top of the nightstand has your desired sheen.
Oh right. I already attached my legs by now, so you should do that, too. Screw those suckers on.
 Last, pick up some Johnson Paste Wax. It’s like $6 and you can find it anywhere, maybe even at your local drugstore. This will give your studly table a creamy, smooth and delicious finish.
Take your time and work it into the wood. You’ll want to do this every 3-4 months or so just to keep the top supple and sexy. Grrrr!
 And that’s it!
I will finish this post by saying this project was CHEAP (because it was) but I won’t finish this post by lying saying it was quick. The steps are easy and require very little skill, but you really need to set aside an entire weekend and then some to complete the process.
I will say, however, that your time will be rewarded ten fold. This thing is a real beauty.
Also, see that nudey portrait in the stunning aluminum frame? I found it the day before, leaning against a tree on my block, while taking Finn on his morning walking. Pretty great, right?

That looks like a TON of work, but the final piece looks stunning. This sounds like my typical DIY that takes forever but is worth it in the end. Fantastic job! Your blog is so entertaining to read! I am thinking of a DIY nightstand once I can finish my other 384629245 projects I have going.
Thanks so much! Truth be told, this thing was a behemoth and a total pain in my bubbles but well worth it.
I would love to see your nightstand once you’ve finished! Shoot me a picture when you get it (or one of your other 384629245 projects) done! Speaking of which, impressive how many irons you have in the fire!
Just saw your article on AT which lead me to your blog. And I gotta say, this is STUNNING. I wish I had the elbow grease and the patience to do something like this!
Hey Ayrika!
Thanks for checking it out! If you do want to tackle it (and you should because it really is a gorgeous piece to have in your home) you can save yourself a little time and effort by removing the bark of the wood before you stain and give it a top coat. I kept mine on because I like the gnarled look of it, but it does make the whole process more time consuming. Of course you can always buy a piece of wood that has already been stained and coated (there are LOTS of rosewood pieces on eBay) which could be another way to avoid the labor pains–it just costs a bit more.
Let me know if you decide to give it a whirl and thanks again!
Evan
Pingback: OFFICE LOFT | This Is Not A House
Appreciate the recommendation. Let me try it out.
Pingback: INSIDE THE ACTORS STUDIO COLON JAMES LIPTON* INTERVIEWS THIS IS NOT A HOUSE SEMI COLON AN UPDATE SLASH JOHN EDWARDS WANTED TOO MUCH MONEY TO COMMUNICATE WITH THIS VOICE FROM THE DEAD PARENTHESES MY APOLOGIES FOR THE ABSENCE | This Is Not A House
Pingback: INSIDE THE ACTORS STUDIO COLON JAMES LIPTON* INTERVIEWS THIS IS NOT A HOUSE SEMI COLON AN UPDATE SLASH JOHN EDWARDS WANTED TOO MUCH MONEY TO COMMUNICATE WITH THIS VOICE FROM THE DEAD PARENTHESES MY APOLOGIES FOR THE ABSENCE | This Is Not A House