My patio and I have a weird relationship.
Private outdoor space in Manhattan is next to non-existent, especially if you’re like me and work hard to stay financially afloat every month. I feel extraordinarily lucky to have it. So lucky, in fact, that I have fallen in love with it. Ass over teakettle in love. But my love has come at a price. Since patios like this are a rare find it’s unlikely, when it comes time to move, I’ll find another one like it, which makes wanting to furnish and make it my own a real challenge. Why pour a bunch of money into lawn chairs and hammocks and canopies and A SLIP-N-SLIDE when in a few year’s time I’ll move and have no use for any of it? It’s a burden I can’t shoulder right now and for that I hate the patio I love. I resent it for being there and myself even more for falling for something I know I can’t have. I am my patio’s jealous mistress.

Finn shares my wistful feelings about the patio.
Hm. Well, I did the best I could with what I had. I scraped together some chairs from the local hardware store, bought a durable outdoor rug on clearance from One King’s Lane, potted a few succulents and found a small bistro table on the street during garbage day (classy). It was fine but it still didn’t feel like I had imprinted on the space in any meaningful way, so I decided to get to work.
The top of the bistro table had a dark walnut finish. The (I would assume) polyurethane finish had cracked and flaked from years of neglect and the legs were dirty and sad.
First I started by sanding the top down, obliterating the polyurethane coat and wiping out the stain. It’s important to note, whenever you’re sanding a piece of furniture and you don’t know where it came from (or even if you do) WEAR A DUST MASK AND PROTECTIVE EYEWEAR. You don’t want to breathe in any microscopic fibers because you will get chlamydia and die. I started with something coarse, like 40, and once all the coats were sanded and I was left with bare wood I went down to 220, just to smooth everything out. Sand with the grain and remember, Kemosabe, it is a slow, tedious process, that sanding is. If your arms feel like they’re going to pop off at the joint, rot and wither away, you’re doing it right.
I wish I had taken pictures of the whole process, but I’m new to this whole blogging thing and didn’t think about it in advance. I promise I’ll get better as this thing goes on.
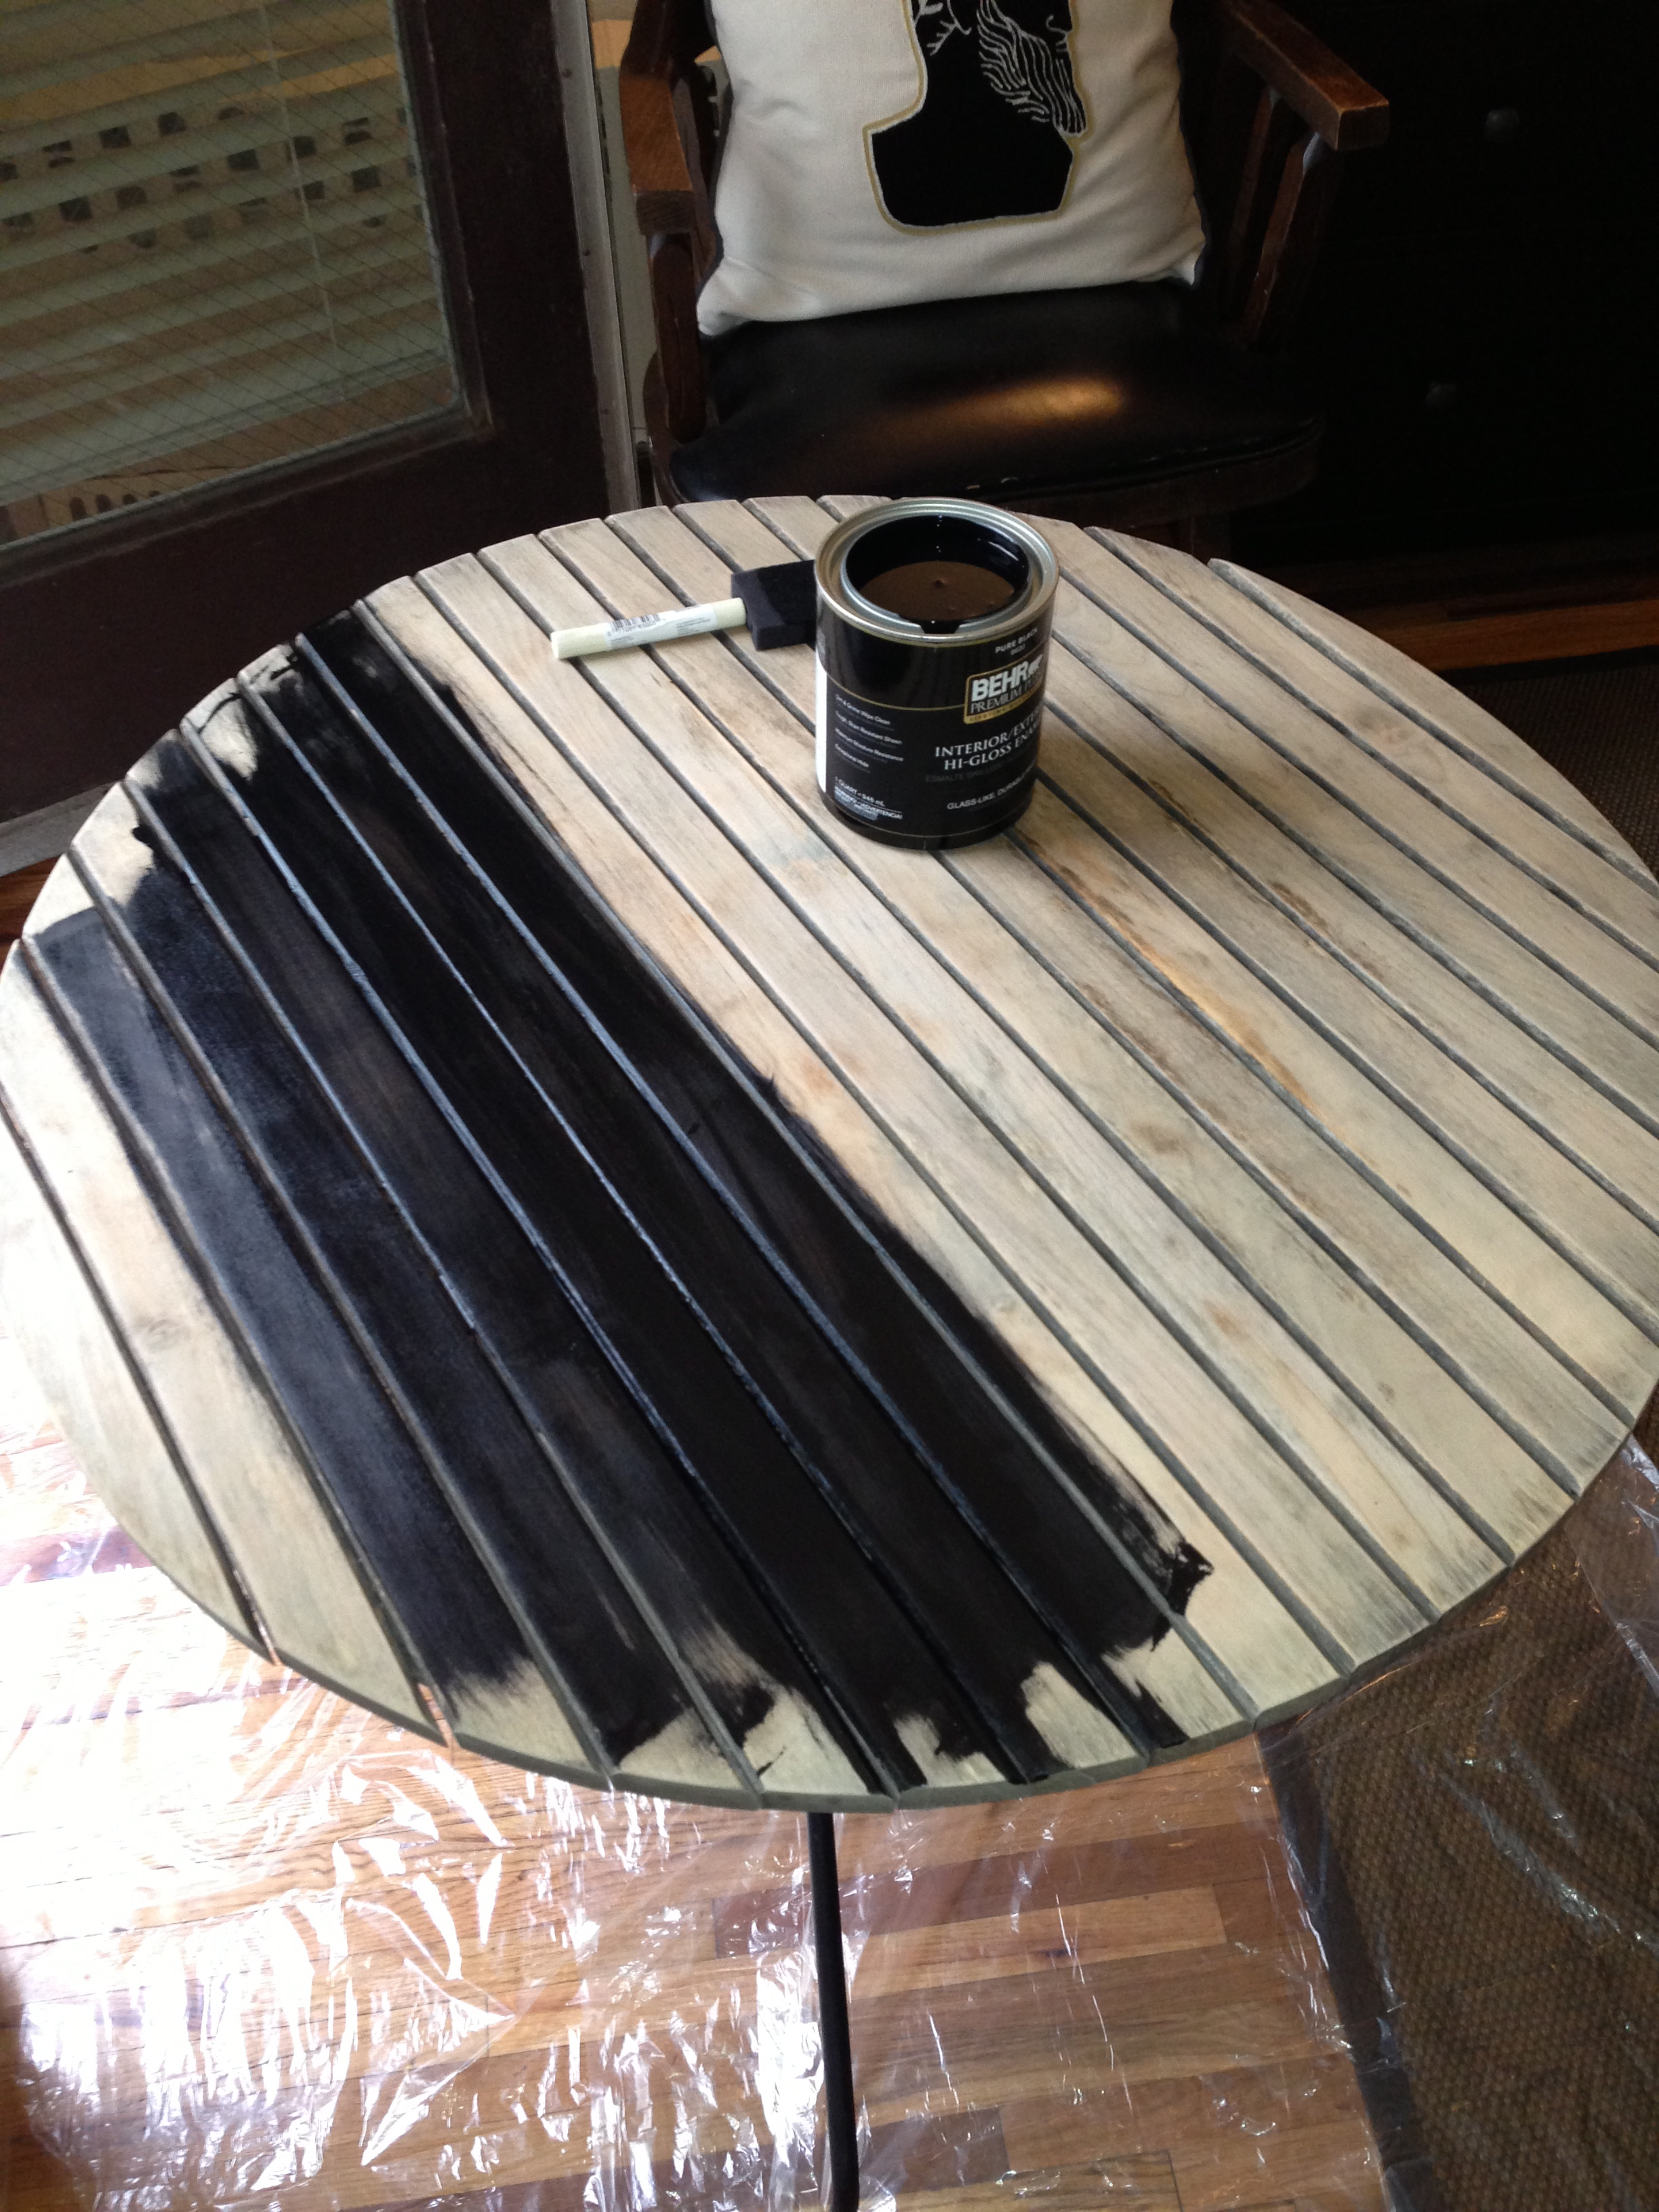
Next was a fresh coat of black paint. I went with Behr’s high gloss outdoor paint. It was a primer/sealer all-in-one and since I’m lazy that seemed like the best bet. You can start with a interior matte black but you’ll need to seal it with a top coat, and for what I needed to do it didn’t seem worth it.
De-lush-us!
The day I was ready to paint it started to rain so I moved the whole operation inside, which just goes to show anyone can do this, even if you don’t have outdoor space. Just make sure your apartment is well ventilated otherwise you’ll start to see dancing elk on your ceiling and you’ll wake up with a wicked hangover.
I let the table dry for a whole day before applying a second coat. After the second coat I let it dry for another day. I wanted to make sure the thing was good and dry and sealed and ready before I threw it out there to brave the elements. Here’s the final result:
 It’s not a huge change but for 15 bucks and little elbow grease I couldn’t have asked for more. The whole endeavor was only a few hours of work and it’s made for a classier, more elegant patio space. And it was just enough to assuage the fear I’d be wasting my resources should I move and have to give it all up sooner than expected.